ISO 527-2: Tensile Testing for Plastics
ISO 527-2 is an international standard for determining the tensile properties of reinforced and non-reinforced plastics. While it provides similar results to ASTM D638, ISO 527-2 is not considered technically equivalent due to differences in specimen size and test requirements. While some large multinational manufacturers test to both ASTM D638 and ISO 527-2, most of our customers demonstrate a preference for one standard or the other based on their geographical location. North American manufacturers usually test to ASTM D638 while those in Europe and Asia primarily test to ISO 527-2. Customers in China test equally to ASTM D638 and to ISO 527-2.
This guide is designed to introduce you to the basic elements of an ISO 527-2 plastic tensile test, but should not be considered an adequate substitute for reading the full standard.

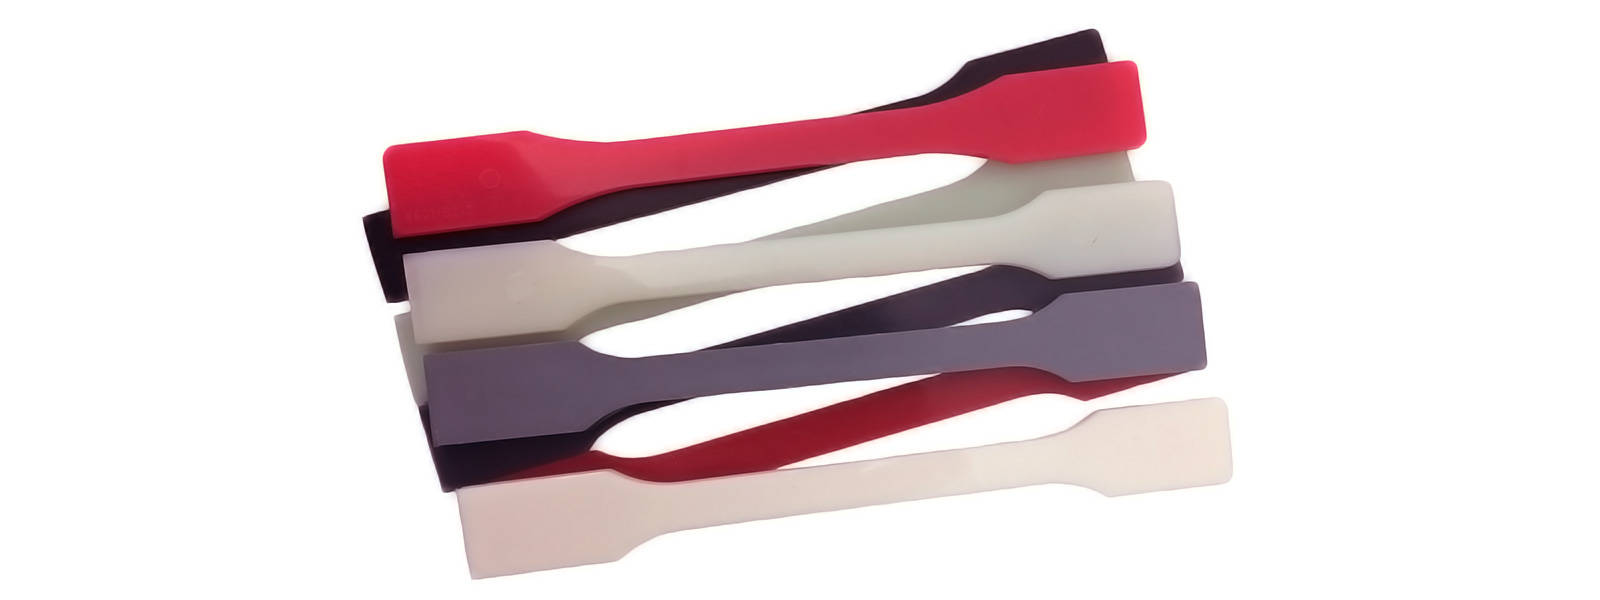
HOW TO PERFORM A TENSILE TEST ON PLASTICS ACCORDING TO ISO 527-2ISO 527-2 is performed on a universal testing machine by applying a tensile force to a sample (specimen) and measuring various properties of the specimen material under stress. The test is conducted at tensile rates ranging from 1 to 500 mm/min until the specimen fails (yields or breaks).
What Does ISO 527-2 Measure?
Though ISO 527-2 measures many different tensile properties, the following are the most common:
- Tensile strength – the amount of force that can be applied to a material before it yields (stretches irreparably) or breaks.
- Tensile modulus – how much a material can deform (stretch) in response to stress before it yields. Modulus is a measurement of the material’s stiffness.
- Elongation – the increase in gauge length after break divided by the original gauge length. Greater elongation indicates higher ductility.
- Poisson’s Ratio - a measurement of the relationship between how far a material is stretched and how thin it gets during the stretching process.
Is ISO 527-2 the Right Standard for You?
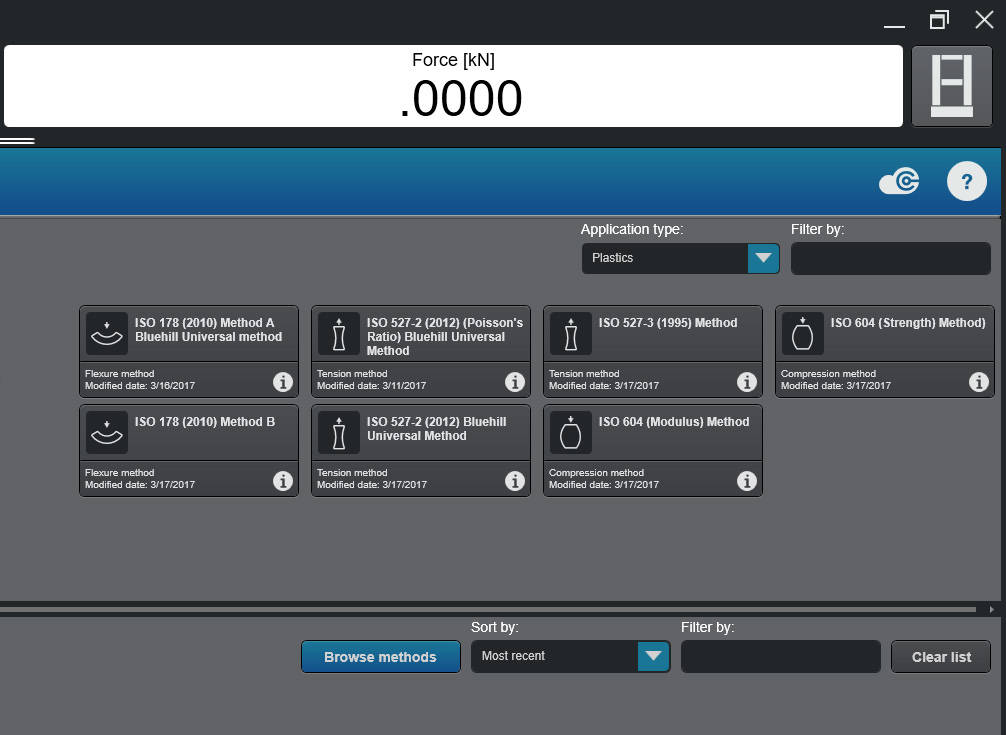
There are many different test methods for various types of plastics. ISO 527-2 is intended for testing rigid and semi-rigid plastics, whether molded, extruded, machined, or cast. ISO 527-2 also applies to reinforced plastics (with the exception of fiber-reinforced plastics, which are covered under ISO 527-4 and ISO 527-5). When testing films and sheets less than 1 mm in thickness, ISO 527-3 should be used. These methods and others can be found in Bluehill® Universal's Applications Modules, which contain pre-configured method templates for the most commonly used ISO and ASTM standards.
Tensile Testing Machine
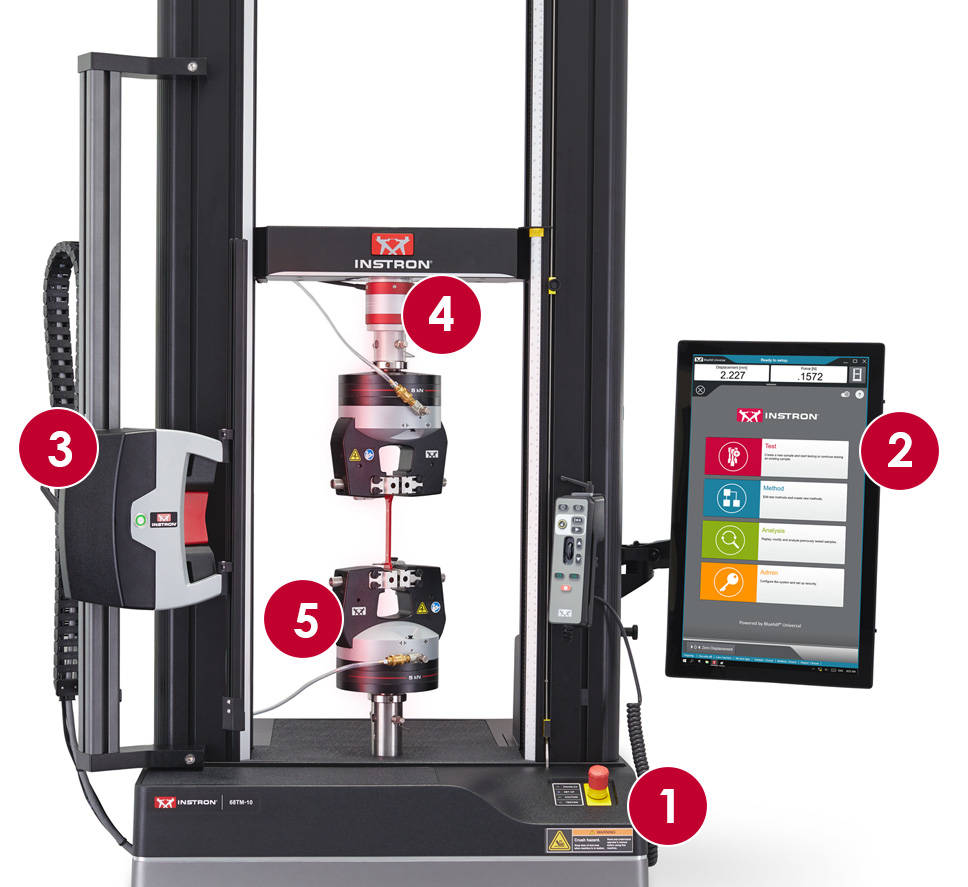
Most ISO 527-2 testing is performed on a table top universal testing machine. A 5kN or 10kN (1125 or 2250 lbf) system is most common, but as reinforced plastics and composites increase in strength, higher capacity units such as 30 or 50 kN systems may be required.
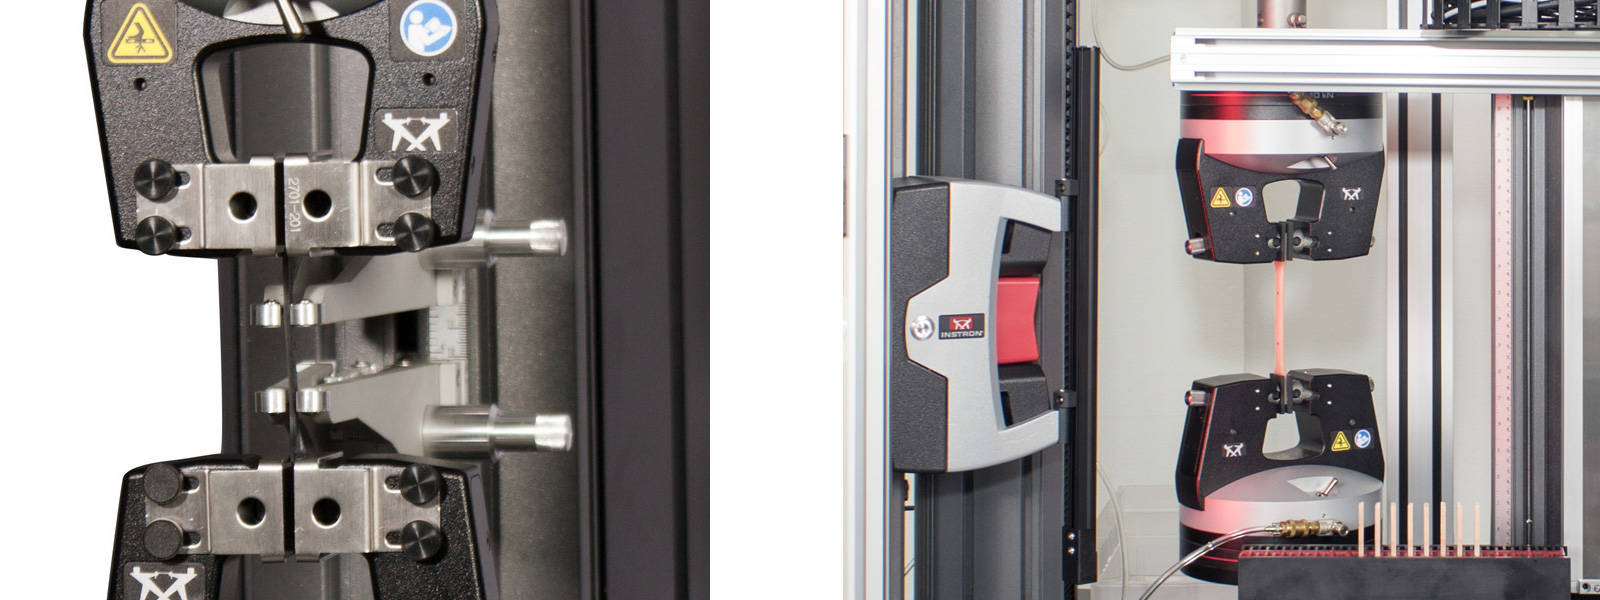
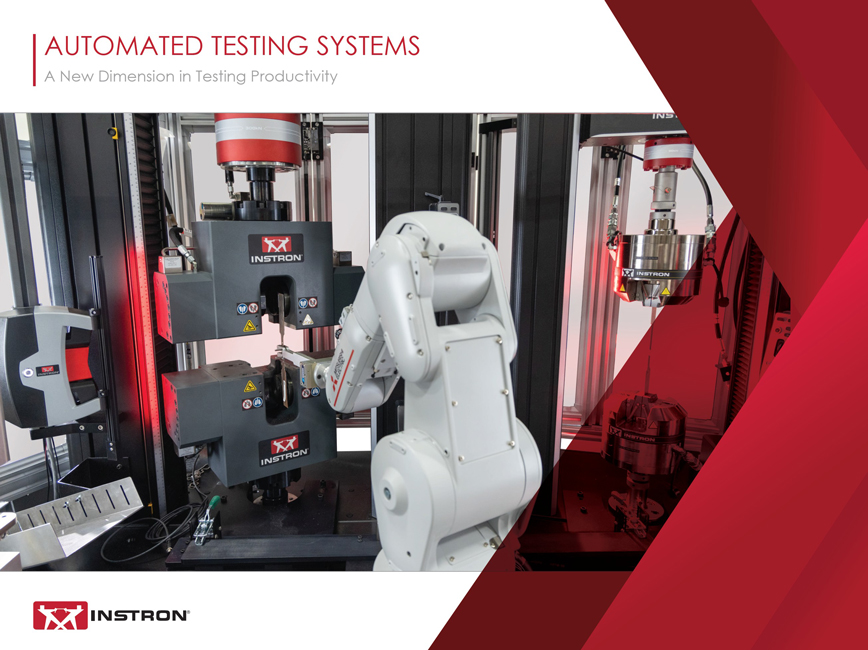
Instron's 3400 and 6800 Series universal testing machines are ideal for testing to ISO 527-2. However, those of our customers with high-volume testing needs, global operations, and advanced research applications typically prefer the 6800 Series systems with 2712 pneumatic grips, which provide additional benefits to accuracy specifications and efficiency enhancements.
SPECIMEN LOADING
In order to obtain proper results, specimens must be correctly aligned inside the grips. One way of preventing misalignment is by using a jaw face that has the same width as the specimen you are testing, making it easier to visually adjust the alignment. The simplest way to prevent misalignment is to use a specimen alignment device which mounts directly onto the grip bodies. This allows the operator to input the material at the same angle each test.
Once the grips tighten onto a specimen, unwanted compressive forces are usually applied. This can either be visually apparent by bending in a semi-rigid material or seen as an increase in negative force that is displayed on your software. These forces, although minute, can interfere with test results if not treated properly. According to ISO 527, it is required to add a preload before beginning a test to remove such forces. Once the preload force value is met, it’s recommended that the strain be auto-balanced, or zeroed, at this point. Its important to note that the distance that traveled during the preload is not the material straining, thus the reason why its crucial to auto-balance the strain afterwards. It is important that they not be balanced after the specimen is inserted, as this will cause an offset in results. Bluehill Universal software can be programmed to normalize forces across multiple specimens and remove any slack or compressive force, ensuring consistent results between specimens. On the 6800 Series universal testing machines we also recommend the use ofSpecimen Protect,, which is designed to prevent damage to the specimen or system during the setup phase of a test, before a test’s operational limits are defined. When turned on, Specimen Protect automatically adjusts the crosshead to keep any unwanted forces under a certain limit.
Calculations and ResultsWhen presenting test results, it is important to ensure that the terms are properly defined in order to comply with the ISO standard and facilitate data comparison between different laboratories.
Strain Measurement
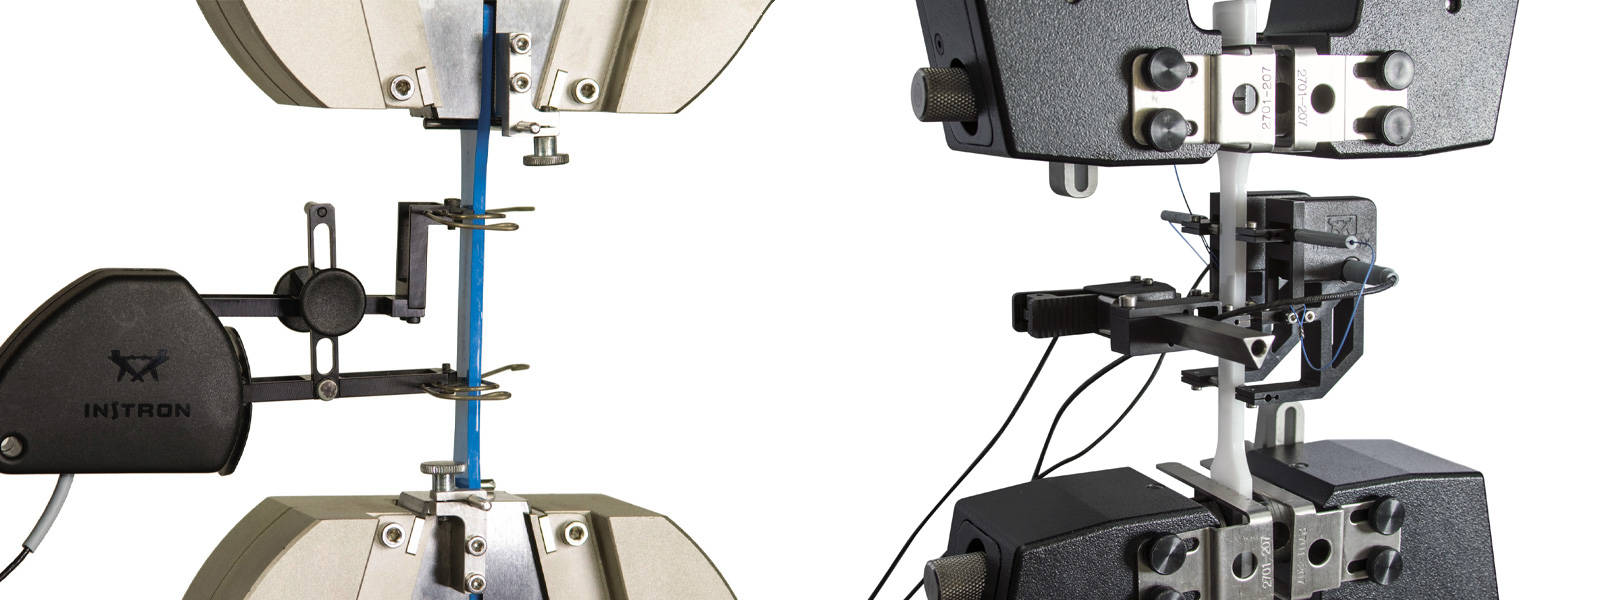
The most common mistake in data reporting is the reporting of strain values using an incorrect source. For plastics, percent elongation at break often cannot be measured exclusively by an extensometer because plastic does not break down homogenously and strain is often focused on a disproportionately small part of the sample, a property known as "necking." Because necking may occur outside of the extensometer's gauge length, a term called "nominal strain" must be used to report percent elongation at any points after yield. Using an extensometer for strain at break is only acceptable if the strain is homogenous throughout the specimen and does not exhibit necking or yield.
Nominal strain is defined differently depending on which test method is being used. For ISO 527-2, nominal strain can be measured in two different ways: Method A measures nominal strain purely by crosshead displacement, but for multipurpose specimens, Method B is preferred. Method B measures nominal strain as the strain measured from the extensometer until yield and and from crosshead displacement after yield, which ensures that necking behavior outside of the extensometer gauge length is taken into account.
Modulus
ISO 527-2 defines modulus as the slope of the curve between 0.05% and 0.25% strain using either a chord or a linear regression slope calculation. Because the modulus calculation starts at 0.05% strain, it is extremely important that appropriate pre-stresses are applied to the material to remove any slack or compressive forces induced from gripping the specimen. It shall not exceed 0.05% strain or 1% of the tensile strength of the material.
Tensile Strength
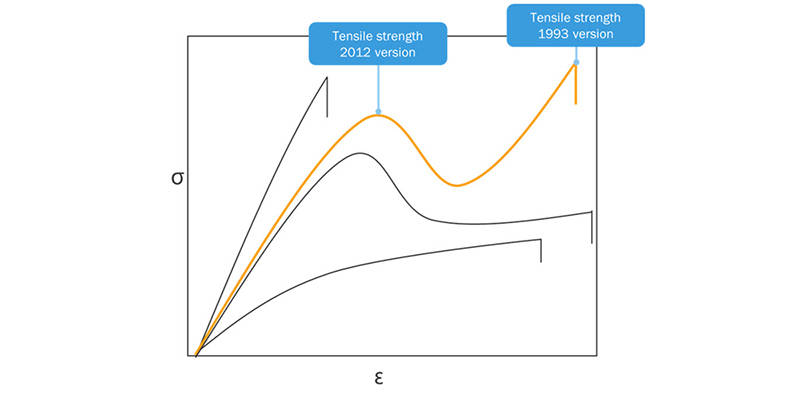
In the 2012 update to the standard, a change was made to the definition of tensile strength. In previous versions, tensile strength was defined as the maximum stress at any time throughout the test. In the latest version of ISO 527-2, tensile strength is taken at the first local maximum exhibited. This change is particularly critical for customers testing materials which have yield points such as polypropylene, polyethylene, and nylons.
THROUGHPUTFor labs with high-volume testing needs, several modifications to the tensile machine setup can be made to speed up the testing process and increase throughput, up to and including fully automated test systems. Fully automated systems are designed to incorporate specimen measurement, specimen loading, testing, and removal, and are able to run for hours without operator interaction. These systems help to reduce variability due to human error and can be left running after a shift ends to continue getting results when operators go home.
