Calibration Vs Verification - The Language of Accuracy
Accurate measurements are the foundation of every mechanical test. Understanding the differences between calibration vs verification is essential to ensuring the accuracy, traceability, and compliance of your testing system. Whether you’re qualifying new materials, validating production runs, or maintaining compliance with industry standards, the reliability of your data depends on one essential principle: your testing equipment must be both calibrated and verified.
Although these two terms are often used interchangeably, they represent distinct processes with different objectives. Understanding the distinction is essential for any laboratory that relies on force measurement systems such as Instron universal or dynamic testing systems.
This article explains these concepts using internationally recognized metrology frameworks and commonly referenced force measurement standards, including the International Vocabulary of Metrology (VIM), ASTM E4, ASTM E74, ISO 376, and ISO 7500-1.
1. Why Accuracy Needs Its Own Language
In measurement science, clarity is essential. Terms such as calibration, verification, accuracy, precision, uncertainty, and traceability have precise definitions that determine how testing laboratories operate and how equipment performance is evaluated.
Without a shared language of accuracy:
- Test results become harder to trust.
- Audits become more challenging.
- Compliance risks increase.
- Equipment may be misinterpreted or misused.
To avoid these issues, it is important to define calibration and verification correctly.

2. What Is Calibration?
According to the International Vocabulary of Metrology (VIM 2.39) [JCGM 200:2012], calibration is:
An operation that establishes a relationship between values indicated by an instrument and the corresponding values realized by a reference standard, each with associated measurement uncertainties.
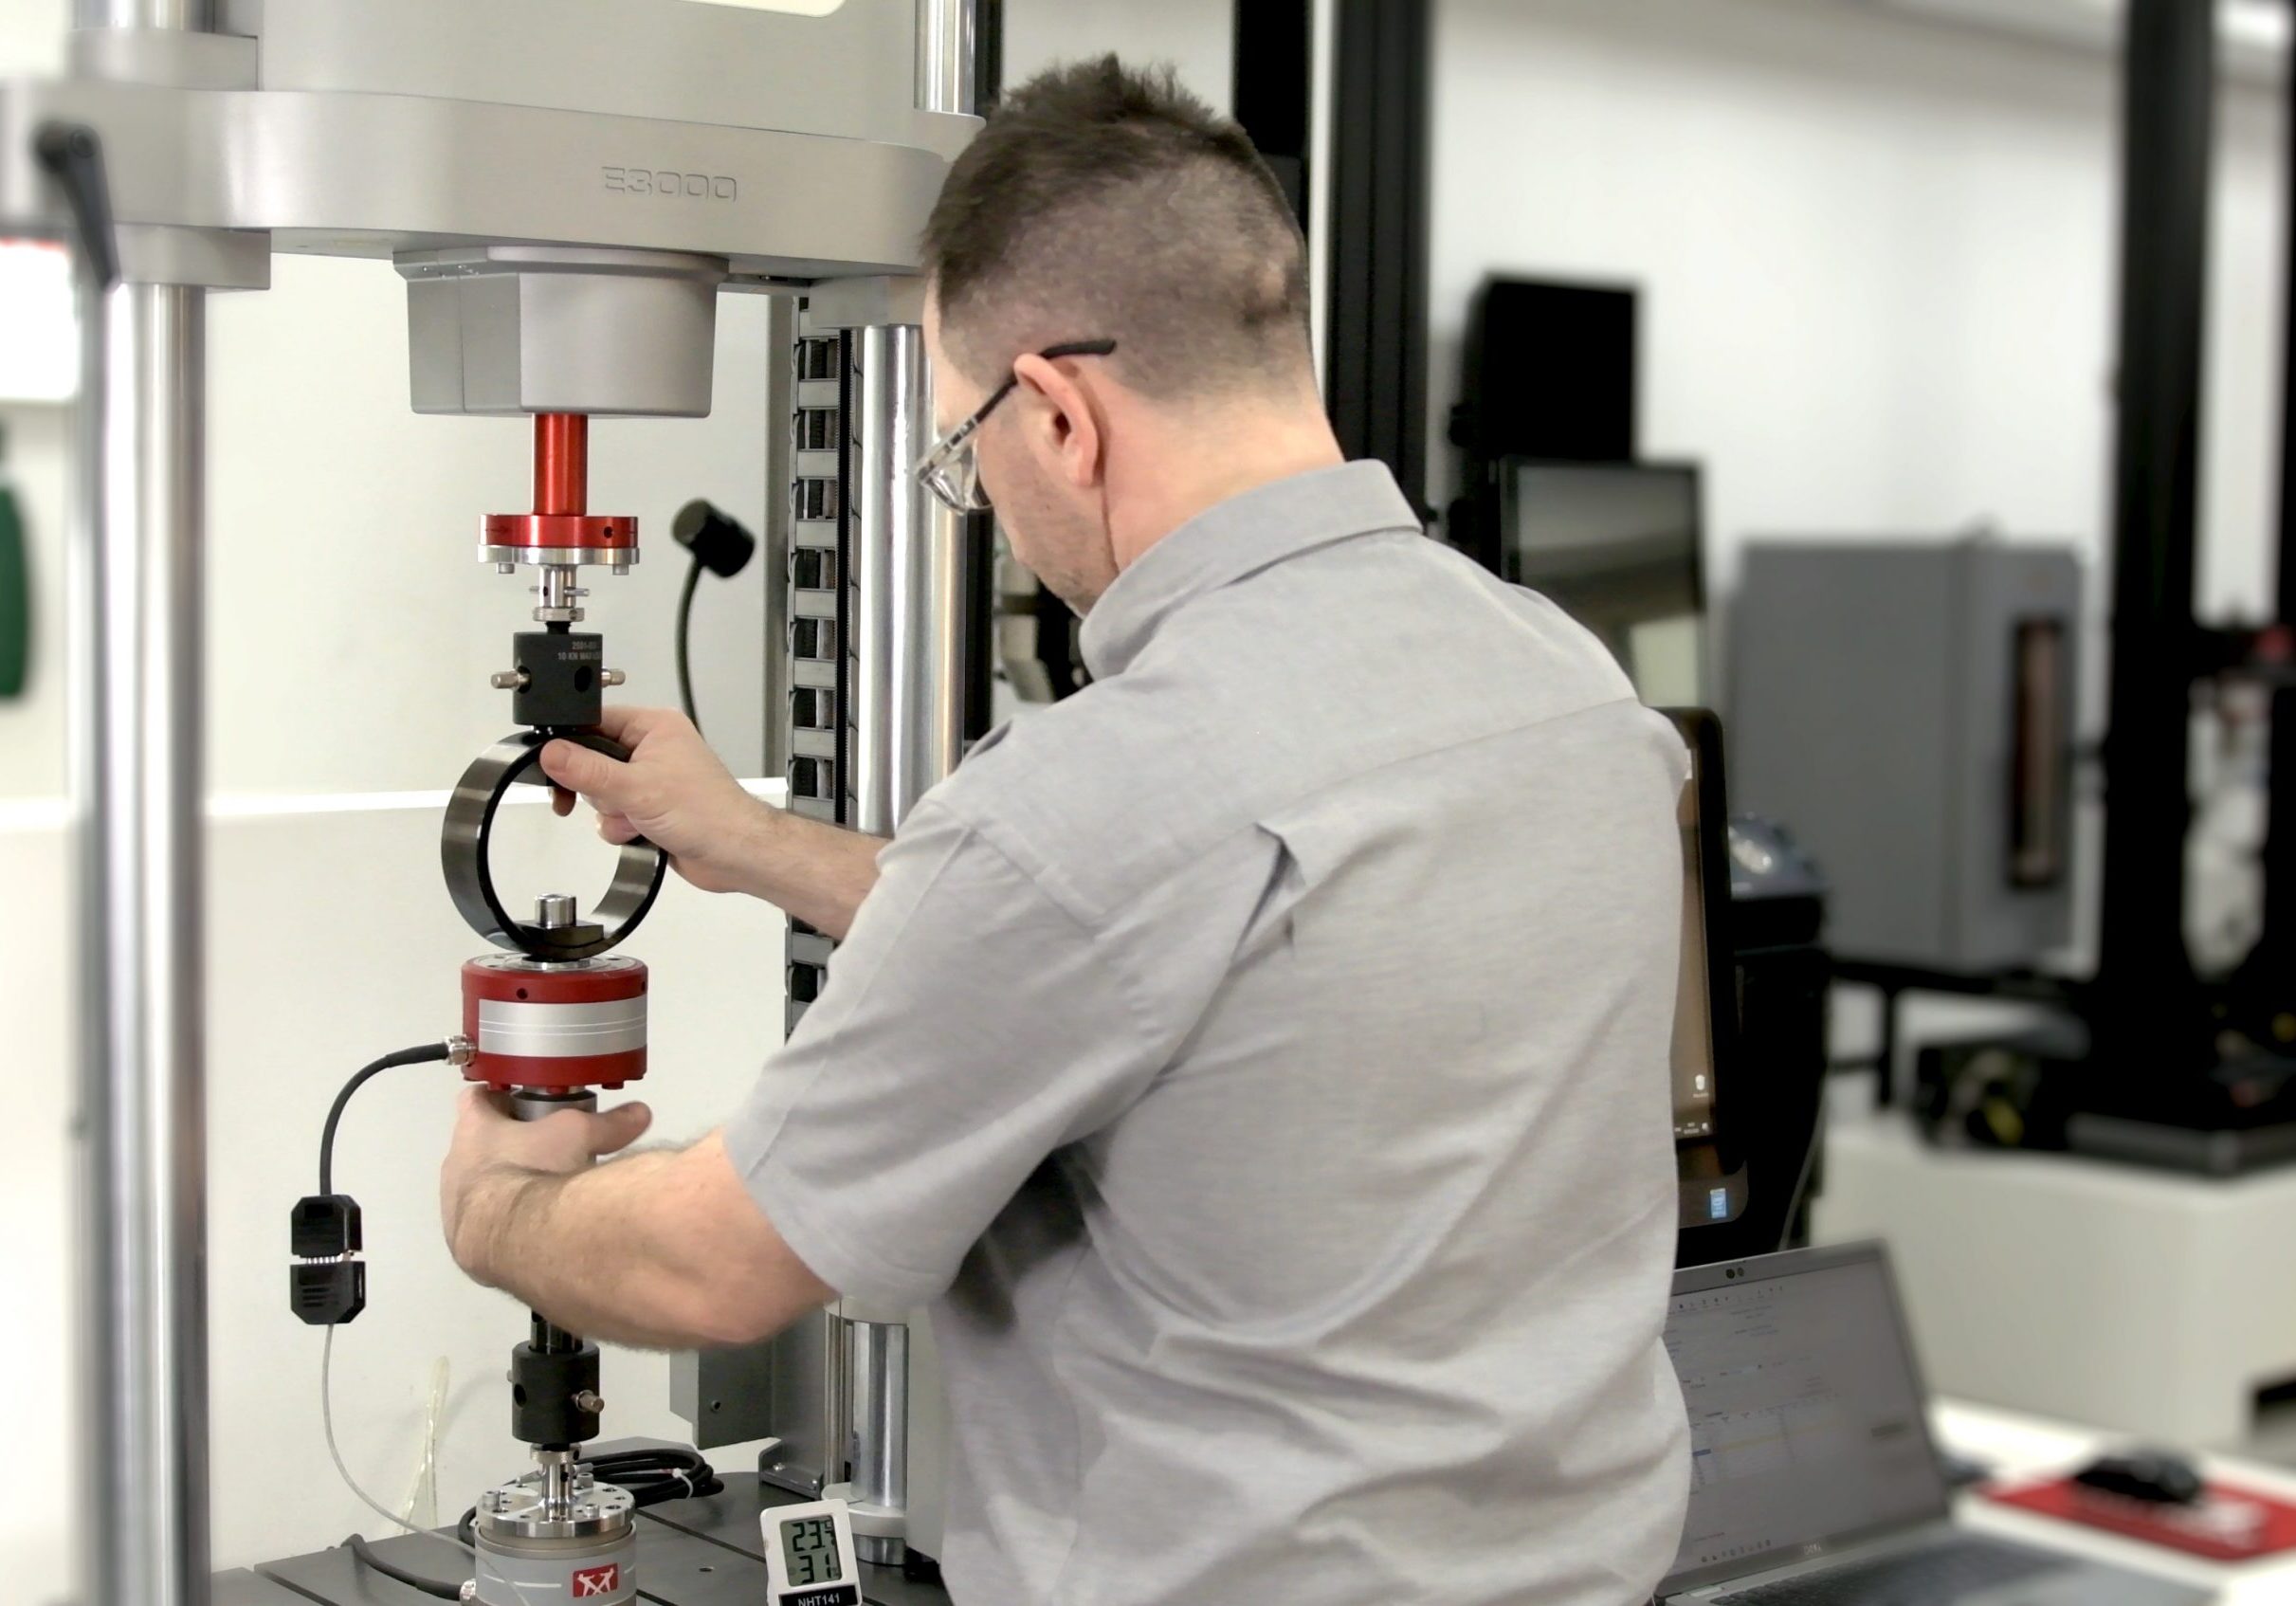
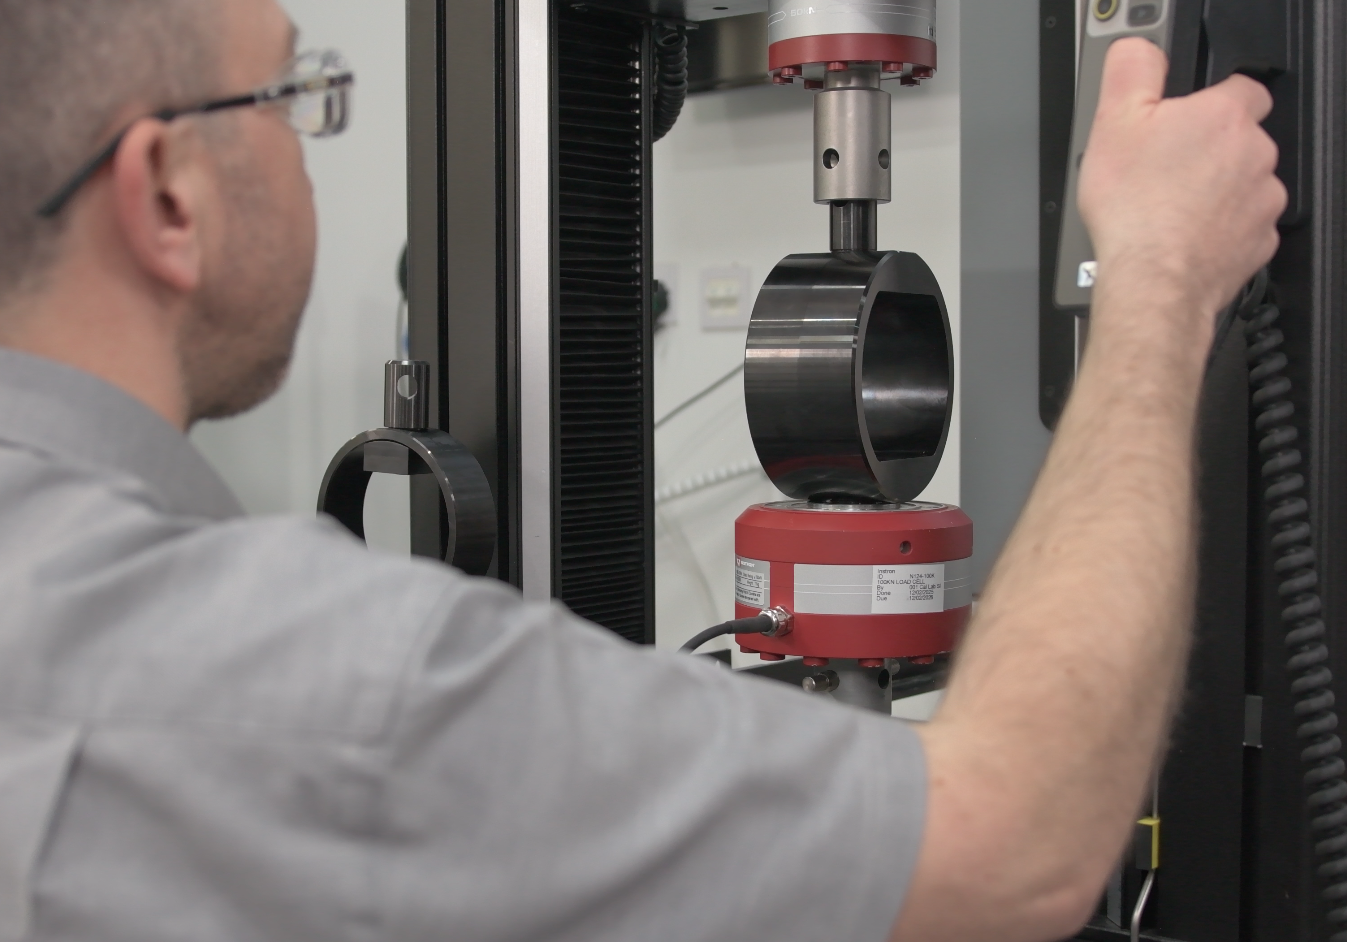
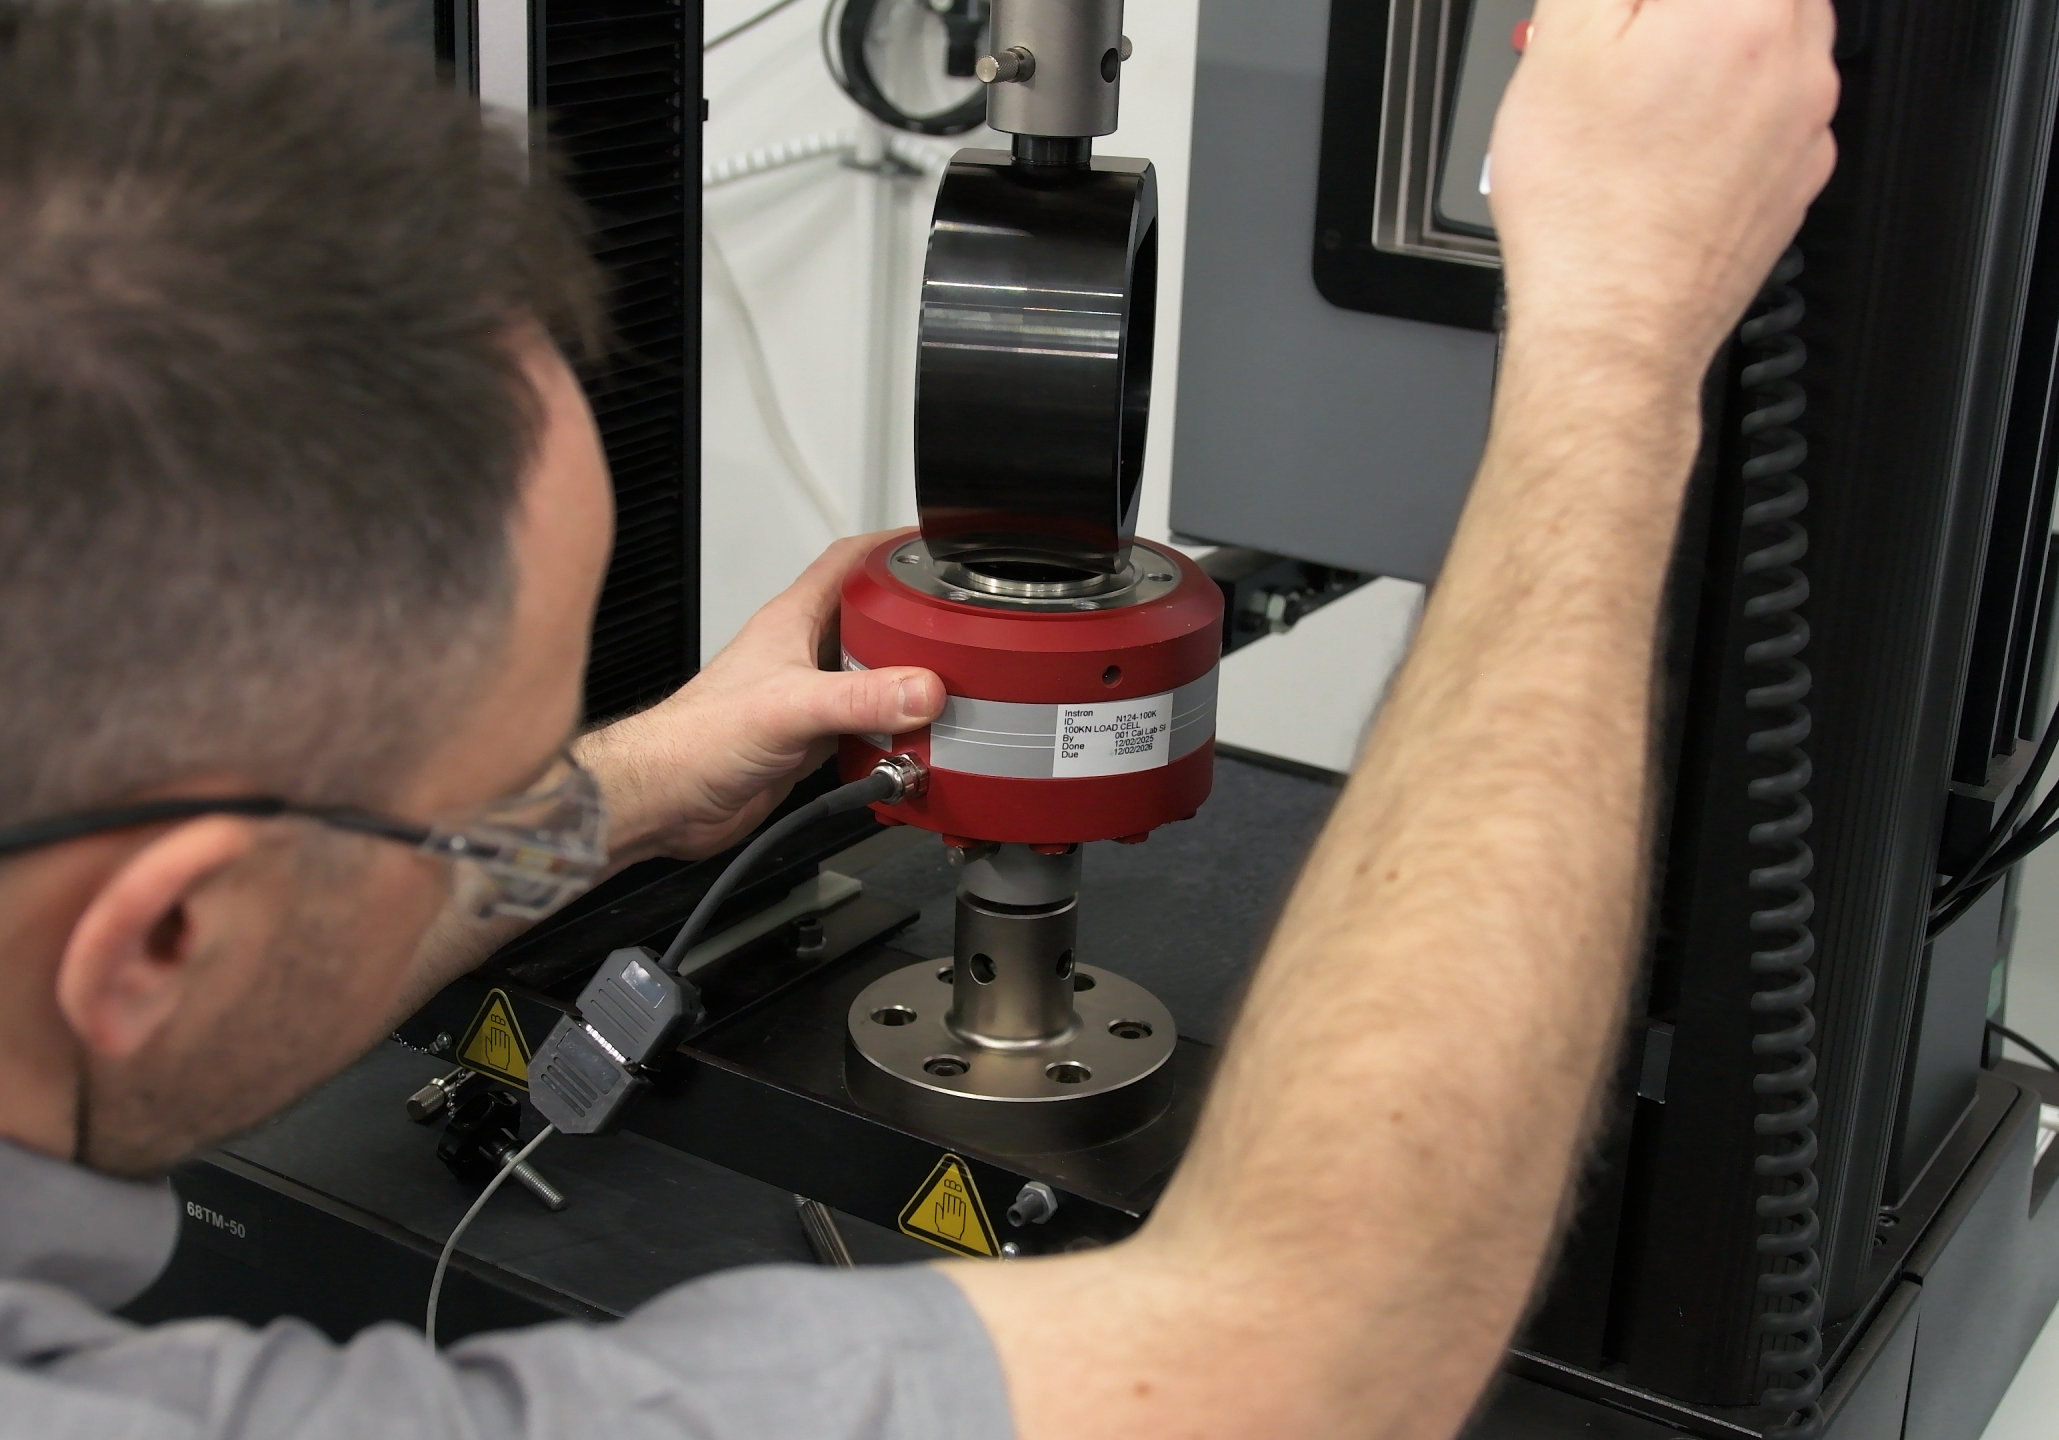
In practical terms, calibration is a comparison between a calibrated reference device and a unit under test, such as a testing system load cell or force measurement system.
Calibration typically involves comparing:
- A reference force standard (for example, force-proving instruments calibrated per ASTM E74 or ISO 376), and
- The instrument being evaluated (such as a universal testing machine assessed per ASTM E4 or ISO 7500-1).
The purpose of calibration is to determine how closely the instrument’s readings align with traceable reference values.
Characteristics of Calibration
- Produces measurement data.
- Reports measurement uncertainty.
- Establishes metrological traceability.
- Provides data that may indicate the need for adjustment.
- Does not determine pass/fail status.
3. What Is Verification?
According to VIM 2.44, verification is:
The provision of objective evidence that an item fulfils specified requirements.
In practical terms, verification is a conformance assessment that confirms whether the instrument meets specified performance requirements defined in standards such as:
- ASTM E4: Standard Practices for force calibration and verification of Testing Machines.
- ISO 7500-1: Tension/compression testing machines - calibration and verification of the force-measuring system.
Characteristics of Verification
- Provides a pass/fail evaluation
- Uses calibration data and, when applicable, measurement uncertainty based on the applied decision rule
- Confirms conformance to specified requirements
- May lead to adjustment if the system does not meet required tolerances
- Does not establish a calibration relationship
Verification answers the question:
“Does this equipment conform to the required performance criteria?”
Suitability for a specific application is typically established through validation, which is a specialized form of verification.
Calibration answers the question:
“How does the instrument perform relative to a traceable reference standard?”
It does not determine whether the instrument meets specified performance requirements. That determination is addressed through verification.
4. Calibration vs Verification: A Side-by-Side View
| Aspect | Calibration | Verification |
| Defined By | VIM 2.39 | VIM 2.44 |
| Purpose | Establish measurement relationship and uncertainty | Confirm conformance to specified requirements |
| Outcome | Measurement data, traceability, uncertainty | Pass/fail determination |
| Commonly Applied Standards | ASTM E74, ISO 376, ASTM E4, ISO 7500-1 | ASTM E4, ISO 7500-1, ASTM E74, ISO 376 |
| Traceability | Established through calibration chain | Relies on traceability established through calibration |
| Adjustment | Calibration data may indicate need for adjustment | Adjustment may occur if verification identifies nonconformance |
| Frequency | Determined by quality system, regulatory requirements, or risk-based interval analysis | Determined by quality system, regulatory requirements, or testing standards |
Calibration establishes accuracy and traceability, while verification confirms conformance to performance requirements. Both processes are necessary to maintain measurement integrity.
5. The Foundations of Accurate Measurement
Understanding calibration and verification requires familiarity with three fundamental metrology concepts.
5.1 Accuracy vs Precision (VIM 2.13, 2.15)
- Accuracy describes closeness to a reference value.
- Precision describes repeatability of measurements.
A system can produce consistent results (high precision) but still be inaccurate if measurements consistently deviate from reference values.
5.2 Measurement Uncertainty (VIM 2.26)
Measurement uncertainty is defined as a parameter characterizing the dispersion of values reasonably attributed to the measured quantity.
Why uncertainty matters:
- All measurements contain uncertainty.
- Verification decisions may incorporate uncertainty depending on the applied decision rule.
- Measurement error determines closeness to tolerance limits, while uncertainty is also a key factor in Probability of False Acceptance and Rejection (PFA and PFR) which are expressions of risk.
5.3 Metrological Traceability (VIM 2.41)
Traceability is an unbroken, documented calibration chain linking measurement results to recognized reference standards.
For force calibration, the traceability chain typically follows:
- Realization of measurement units through the International System of Units (SI).
- National or primary standards (often realized using deadweight force standards).
- Reference force-proving instruments (calibrated per ASTM E74 or ISO 376).
- Working standards
- Customer testing systems (verified per ASTM E4 or ISO 7500-1).
This traceability chain ensures measurement results are defensible, reliable, and compliant with quality requirements.
6. How Calibration and Verification Apply to Instron Systems
Instron universal testing machines rely on standardized procedures to maintain measurement integrity.
Calibration involves:
- Using force-proving instruments meeting ASTM E74 or ISO 376.
- Comparing values at multiple load points.
- Establishing uncertainty and traceability.
Verification involves:
- Applying ASTM E4 or ISO 7500-1 performance tolerances.
- Determining whether the machine conforms to required performance limits.
- Issuing a pass/fail determination.

Many testing standards, including ASTM E4, require calibration data to be collected during the verification process, meaning these activities are often performed together.
Calibration ensures the machine produces accurate measurement data. Verification confirms the system conforms to specified requirements.
7. When to Perform Calibration and Verification
Calibration is typically performed when:
- Installing new load cells or force measurement components.
- Following repairs or component replacement.
- Following overload events.
- At intervals defined by quality systems or risk-based calibration analysis.
- Following relocation of testing equipment (required by ASTM E4).
Verification is typically performed when:
- Conducting acceptance or critical production testing.
- Performing routine quality checks.
- Following relocation of testing equipment (required by ASTM E4).
- Confirming ongoing conformance between calibration intervals.
8. Why Using the Terms Incorrectly Causes Problems
Confusing calibration and verification can result in:
- Failed external audits.
- Non-compliant test reports.
- Misstated equipment performance.
- Incorrect acceptance decisions.
- Loss of measurement traceability.
In regulated industries—including biomedical, aerospace, and automotive testing—these risks can have significant operational and regulatory consequences.

9. Instron Expertise
At Instron, we specialize in ensuring materials testing systems maintain the accuracy, traceability, and compliance required for demanding testing environments.
Our capabilities include:
- ISO/IEC 17025 accredited on-site calibration services through NVLAP under lab code 200301-0.
- Force calibrations and verifications to ASTM E4 and ISO 7500-1.
- Primary force realization using deadweight standards, with secondary standards calibrated to ASTM E74 and ISO 376.
- Expert analysis of measurement uncertainty.
- Consultation on calibration intervals and quality-system requirements.
Our Field Service Engineers are factory-trained and audited through Instron’s global calibration laboratory network, ensuring consistent and reliable measurement performance.
To understand more on choosing the right calibration provider read, How Calibration Providers Impact Your Risk blog post.
10. Summary
- Calibration establishes measurement relationships, uncertainty, and traceability.
- Verification confirms conformance to specified performance requirements.
- The two processes serve distinct but complementary roles.
- Both are required to produce reliable, defensible, and compliant test results.
Understanding the language of accuracy allows laboratories to make informed decisions, maintain compliance, and produce trustworthy data.