ASTM D638: The Definitive Guide To Plastic Tensile Testing
HOW TO PERFORM A TENSILE STRENGTH TEST ON PLASTICS ACCORDING TO ASTM D638
Written by Erica Lawrence
ASTM D638 is the most common testing standard for determining the tensile properties of reinforced and non-reinforced plastics. With the use of plastics being at an all-time high, it is critical that manufacturers be able to properly gauge the mechanical strength of their materials. This guide is designed to introduce you to the basic elements of an ASTM D638 plastic tensile test, including an overview of the equipment, software, and samples needed. However, anyone planning to conduct ASTM D638 testing should not consider this guide an adequate substitute for reading the full standard.
What Does it Measure?
ASTM D638 is performed by applying a tensile force to a sample specimen and measuring various properties of the specimen under stress. It is conducted on a universal testing machine (also called a tensile testing machine) at tensile rates ranging from 1 to 500 mm/min until the specimen fails (yields or breaks). Though ASTM D638 measures many different tensile properties, the following are the most common:
- Tensile strength – the amount of force that can be applied to a plastic before it yields (stretches irreparably) or breaks.
- Tensile modulus – how much a material can deform (stretch) in response to stress before it yields. Modulus is a measurement of the material’s stiffness.
- Elongation – the increase in gauge length after break divided by the original gauge length. Greater elongation indicates higher ductility.
- Poisson’s Ratio - a measurement of the relationship between how far a material is stretched and how thin it gets during the stretching process.
IS ASTM D638 THE RIGHT STANDARD FOR YOU?
There are many different test methods for various types of plastics. ASTM D638 only applies to rigid plastic samples between 1.00 mm and 14 mm in thickness. If your sample is a sheet or film less than 1.00 mm thick, it should be tested to ASTM D882. While it provides similar results to ISO 527-2, ASTM D638 is not considered technically equivalent due to differences in specimen size and test requirements. While some large multinational manufacturers test to both ASTM D638 and ISO 527-2, most of our customers demonstrate a preference for one standard or the other based on their geographic location. North American manufacturers usually test to ASTM D638 while those in Europe and Asia primarily test to ISO 527-2. Customers in China equally test to ASTM D638 and ISO 527-2. All of these test methods can be found in Bluehill® Universal’s Applications Modules, which are pre-configured method templates for the most popular ASTM and ISO standards.
MATERIALS TESTING SYSTEM
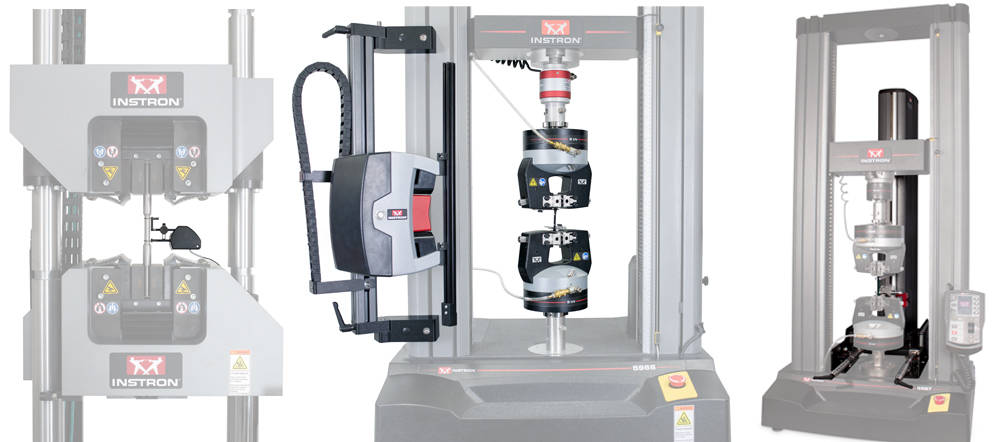
Most ASTM D638 testing is performed on a table top universal testing machine such as Instron's 6800 Series. A 5 kN or 10 kN (1125 or 2250 lbf) system is most common, but as reinforced plastics and composites increase in strength, higher capacity units – such as 30 kN or 50 kN systems - may be required.
| ASTM D638 Test Setup | |
|---|---|
|
Instron 6800 |
|
|
Bluehill Universal Dashboard (2490-696) |
|
|
2580 Series Load Cell |
|
|
5 kN Pneumatic Side-Action Grips (2712-045) |
|

Grips
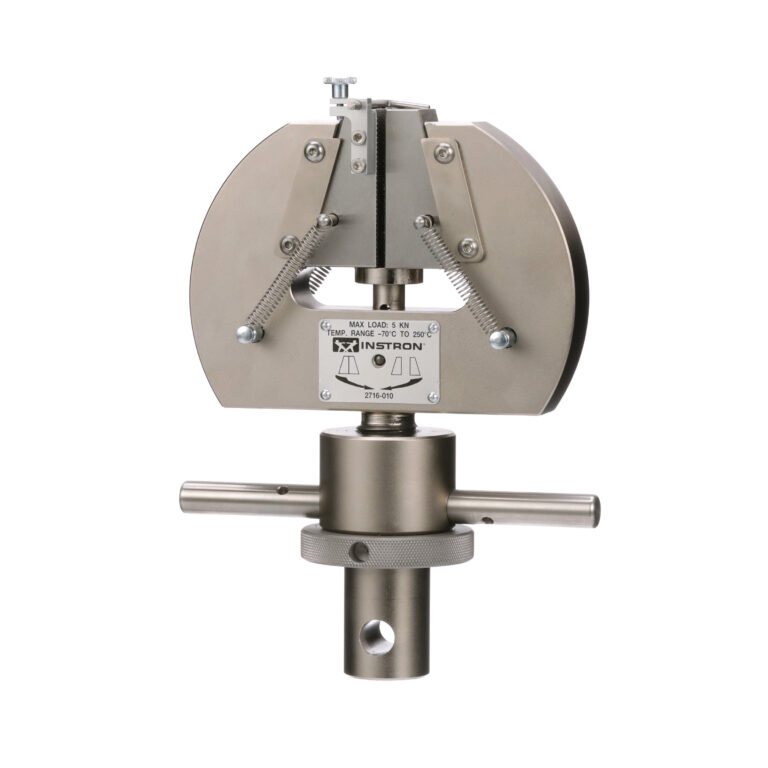
It is important that specimens are held securely inside of the tensile machine. Side action pneumatic grips with serrated jaw faces are often the best grips for holding rigid plastics. With pneumatic grips, the gripping force is maintained by air pressure, which remains constant even if the specimen thickness changes significantly during the test. For forces above 10 kN, typically only found with reinforced materials, manual wedge action grips are preferred.
Specimen Types
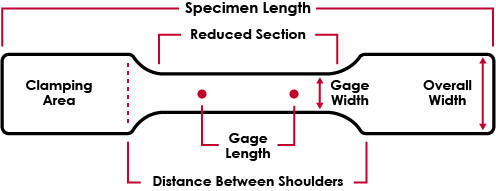
There are five allowable specimen types for ASTM D638 which differ in size depending on the thickness of the specimen and the amount of material available. The most commonly used are Type I specimens, which are 3.2 mm thick and are generally created by injection molding. Type I specimens have an overall length of 165 mm and width of 13 mm, with a gauge length of 50 mm. Flat specimens are typically molded, die-cut, or machined into a “dogbone” or “dumbbell” shape, which ensures that the break occurs in the center of the specimen rather than at the clamping areas. In addition to flat specimens, ASTM D638 also allows for the testing of rigid tubes and rods, both of which must also be machined into a dogbone shape. In instances where material is limited, many labs will use Type IV or Type V specimens. The dimensions required for Type IV specimens are the same as those required for ASTM D412 die cut C, meaning that the same die cut can be used. Type V specimens are the smallest, with a gauge length of only 0.3 in.
SPECIMEN MEASUREMENT
All specimens must be measured before testing in accordance with ASTM D5947. Most typical micrometers should be suitable for performing these measurements. For the test system to display Stress measurements rather than just Force measurements, operators will be asked to input the cross-sectional area (or thickness and width) of the specimen, because Stress = Force / Cross-Sectional Area (this is shown in units of Psi, Pa, kPa, GPa, etc).
Die-cut or machined samples need to be measured individually, but operators using injection molded specimens only need to measure a single sample from a sample lot providing the variation in that sample lot is proven to be less than 1%. Injection molded specimens are often produced with a draft angle instead of being perfectly square, which must be taken into consideration when measuring the specimen. Always make sure that width measurements are taken at the center of the draft angle.
The Automatic Specimen Measuring Device feature in Bluehill Universal allows operators to connect up to two micrometers or measurement devices to the computer and input the data directly into the software. This eliminates the chances of input errors and increases efficiency.
SPECIMEN ALIGNMENT
In order to test properly, specimens must be held perpendicular to the jaw faces and not tilted on an angle. Specimen misalignment can cause major variations in results, and proper care should be taken to ensure that the specimens are all aligned consistently for each test. One way of addressing misalignment is by using a jaw face that is close to the same width as your specimen, making it relatively easy to visually adjust alignment. But the easiest way to prevent misalignment is to use a specimen alignment device which mounts directly onto the grip bodies. This is a simple bar that provides an adjustable stopping point so operators can easily tell that their specimen has been aligned correctly.
When the grips are tightened onto the plastic specimens in preparation for running a test, unwanted compressive forces are frequently applied. These forces, although minute, can interfere with test results if not treated properly: It is important that they not be balanced after the specimen is inserted, as this will cause an offset in results. Bluehill Universal software can be programmed to normalize forces across multiple specimens and remove any slack or compressive force, ensuring consistent results between specimens. On the 6800 Series universal testing machines, we also recommend the use of Specimen Protect, which is designed to prevent damage to the specimen or system during the set-up phase of a test, before a test’s operational limits are defined. When turned on, Specimen Protect automatically adjusts the crosshead to keep any unwanted forces under a certain limit.
Watch this video to learn more about Specimen Protect.
EXTENSOMETERS FOR TENSION TESTS
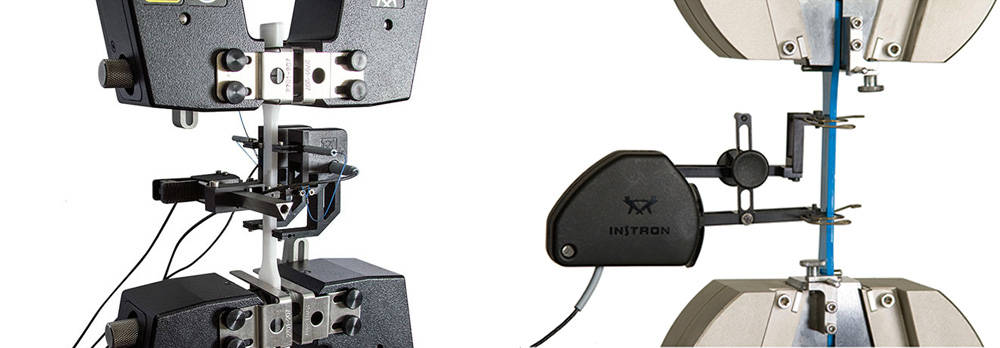
Modulus of elasticity – how much the specimen stretches or deforms in response to tensile force - is one of the most important types of data gathered by ASTM D638 plastic tensile testing. Users need an appropriate strain measuring device – an extensometer - to gather this data. Extensometers for measuring modulus must comply with ASTM E83 Class B-2.
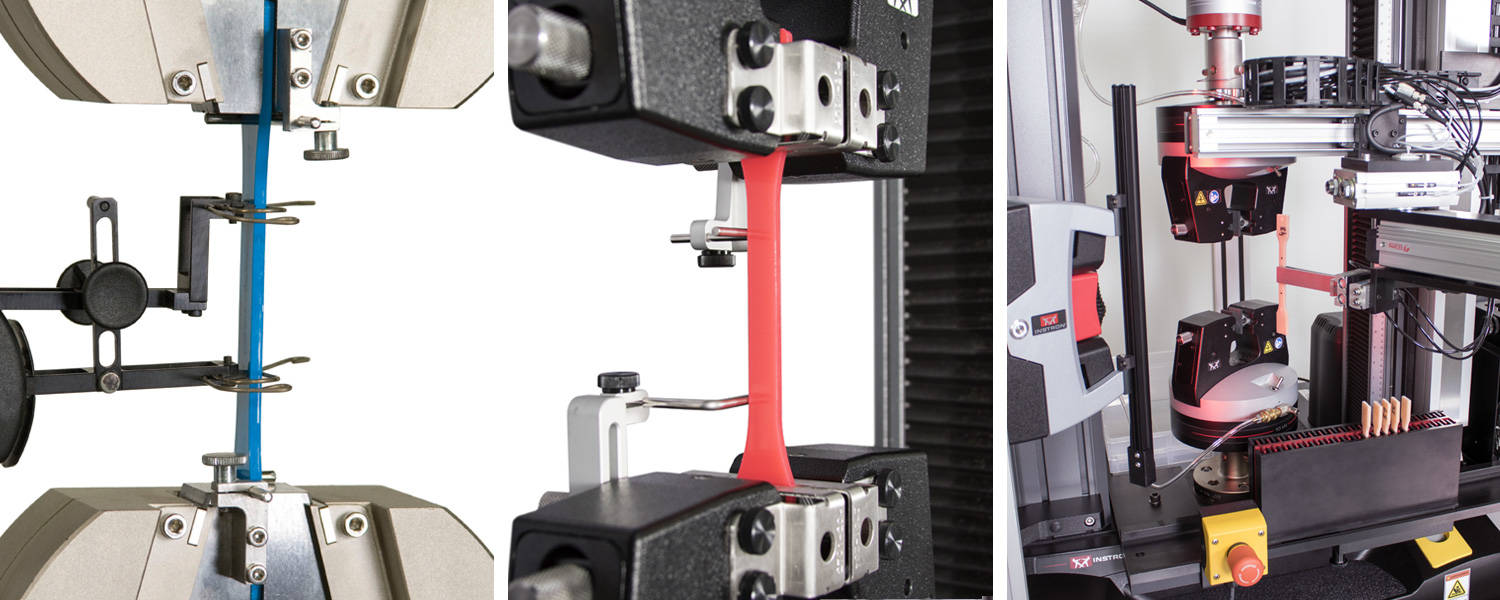
Several extensometer options are available depending on the needs of your laboratory. The simplest type is a fixed-gauge length 2630 series clip-on extensometer. An operator must clip this directly onto the specimen at the beginning of each test and remove it after the specimen yields or before the specimen breaks. If testing for Poisson’s ratio, a transverse extensometer must also be added to measure the change in width throughout the elastic region of the specimen. A standalone transverse extensometer can be used to supplement an existing clip-on or automatic extensometer, or a biaxial device can be used to measure both axial and transverse strain simultaneously.
The AutoX750 is an extensometer that automatically attaches to the specimen without interference by the test operator. This is useful in labs that have high throughput needs, as it eliminates the time-consuming need for manual manipulation by the operator, and also provides more consistent placement on a large number of specimens. Consistent placement results in more repeatable modulus values. If testing to other standards, such as ASTM D790, automatic extensometers also provide the flexibility of using different gauge lengths with a single device. Oftentimes, the plastics being tested are ultimately destined to be used under non-ambient conditions. To simulate these end-use applications, ASTM D638 is performed inside a temperature chamber where heating or cooling (LN2 or CO2) can be used. In these instances, a non-contacting Advanced Video Extensometer (AVE2) is the recommended option. The AVE 2 allows modulus data to be gathered without the test operator opening and closing the chamber and causing temperature fluctuations during the test.
CALCULATIONS AND RESULTS
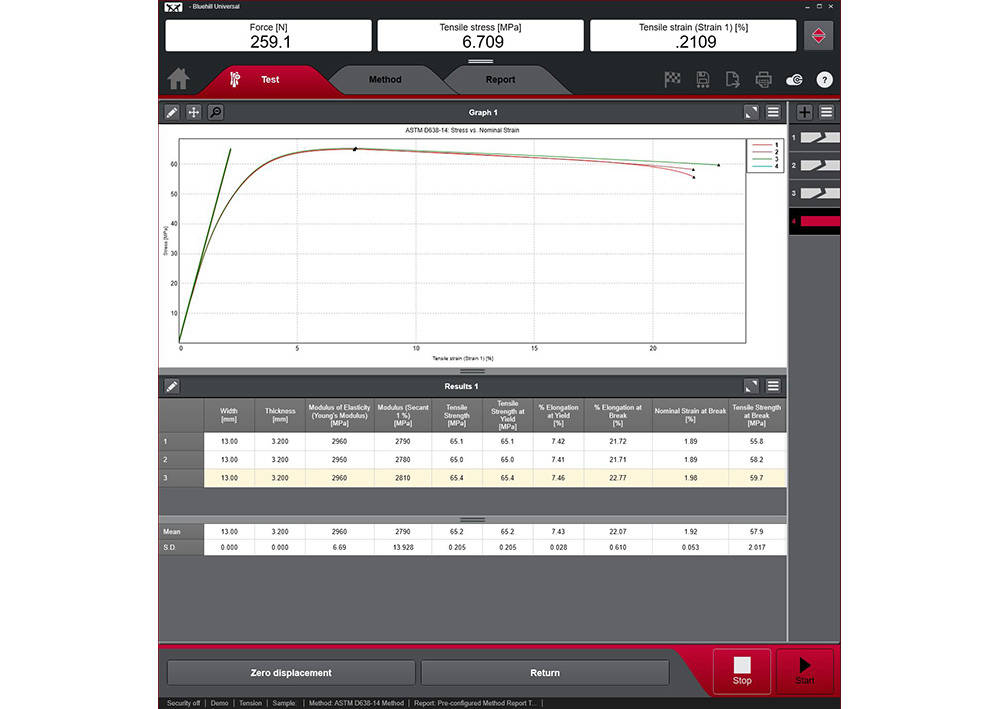
When presenting test results, it is important to ensure that the terms are properly defined in order to ensure compliance with the standard and facilitate data comparison between different laboratories. The most common mistake in data reporting is to report strain values using an incorrect source (extensometer instead of crosshead) which can lead to drastically different results.
Plastics testing standards refer to a term called nominal strain which is defined differently depending on which test method is being used. For ASTM D638, nominal strain is defined as the strain measured from the crosshead displacement, not from the extensometer. This is because plastic does not break down homogenously, and strain is often focused on a disproportionately small part of the sample, a property called “necking”. For any materials that neck or have a yield point, percent elongation at break cannot be reported via the extensometer, as necking may occur outside of the extensometer’s gauge length. Therefore nominal strain must be used to report percent elongation at any points after yield. Using an extensometer for strain at break is only acceptable if the strain is homogenous throughout the specimen and doesn’t exhibit necking or yield.
MODULUS
Plastics which exhibit different behaviors may require the use of different modulus calculations to appropriately capture the elastic portion of the test. Most modern testing software allows for the customization of modulus calculations. Understanding how the modulus is being calculated is critical to ensuring consistency in results.
For a material that doesn’t exhibit a true linear portion, a secant modulus is typically recommended, creating a modulus line between zero and any user-defined point on the curve. Segment modulus calculations form a best-fit line between a specified start and end point and performs a least-squares fit. Most commonly, a Young’s modulus calculation is used, determining the slope over a number of regions and reporting the steepest slope via a least-squares fit. Bluehill Universal allows users to either define a number of regions or use the Automatic Young’s Modulus calculation.
THROUGHPUT
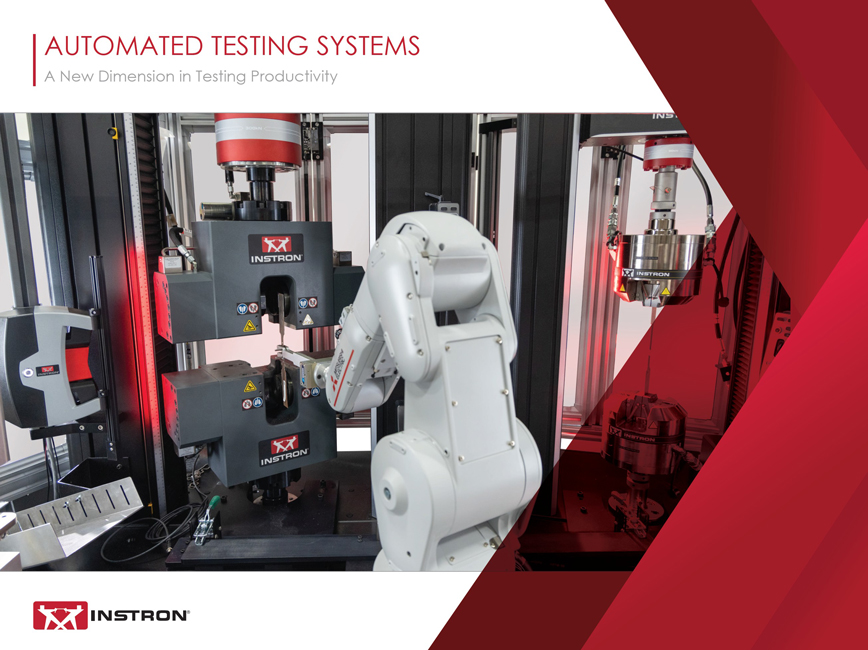
For labs with high-volume testing needs, several modifications to the tensile machine setup can be made to speed up the testing process and increase throughput, up to and including fully automated test systems. Fully automated systems are designed to incorporate specimen measurement, specimen loading, testing, and removal, and are able to run for hours without operator interaction. These systems help to reduce variability due to human error and can be left running after a shift ends to continue getting results when operators go home.

