How To Investigate Dynamic Failures of Materials
How to adapt Impact Testing to new Materials and Manufacturing Methods
The evaluation of the impact properties of materials came into existence a hundred years ago, when S.B. Russell built the first impact pendulum and Georges Charpy introduced the Charpy method as an international standard. The first goal of these scientists was to determine the energy required to break a specimen by means of the swinging arm/hammer of a pendulum. The pendulum was chosen due to the simple relationship between the mechanical energy of the hammer and the amplitude of its oscillations. Once a mechanical or electrical device determines the angle of rise of the hammer after impact, the energy absorbed by the specimen can be easily calculated.
Over the last hundred years many different techniques have been invented to increase our knowledge of the mechanism of material fracture and how to reduce the gap between the test method and the real application.
Moreover, with the increased demand for more stringent acceptance criteria as a result of the new structural uses for materials, it has become essential to know how they will behave when subjected to impact.
Scientists have introduced another important family of instruments to evaluate materials: drop weight impact systems. With its versatility, wider range of energies and velocities, and ability to obtain crucial and complementary information on materials’ characteristics, drop weight equipment is now playing a major role in impact testing.
How to investigate Dynamic Failures of Materials
Dynamic failures of materials are different than those found when testing at slower and steadier speeds. This is especially true of plastics where many variables can affect the material: the way the polymers form to make a specific material, whether the resins used are filled or unfilled, the addition of color additives, and forming processes. These all affect the strength and durability of not only the end material but the end product as well.
When knowledge is needed about the fracture characteristics of plastic materials under highly dynamic conditions such as impact strength, ductility, toughness, crack propagation, and energy absorption, the best solution is to perform a puncture impact test.

How to perform a Puncture Impact Test
The puncture impact test is regulated by international test standards. These standards provide guidance on the testing of plastics from thin films to rigid reinforced plates.
Specimens, tup inserts, and supports dimensions are specified in each standard. Furthermore, during the last decade these standards have been extended to include requirements about the frequency-response of the tup inserts. One of the main contributions of puncture impact standards (i.e: ISO 6603-2, ASTM D 3763) is information on methods and techniques for results optimization, performance improvement, and data interpretation.
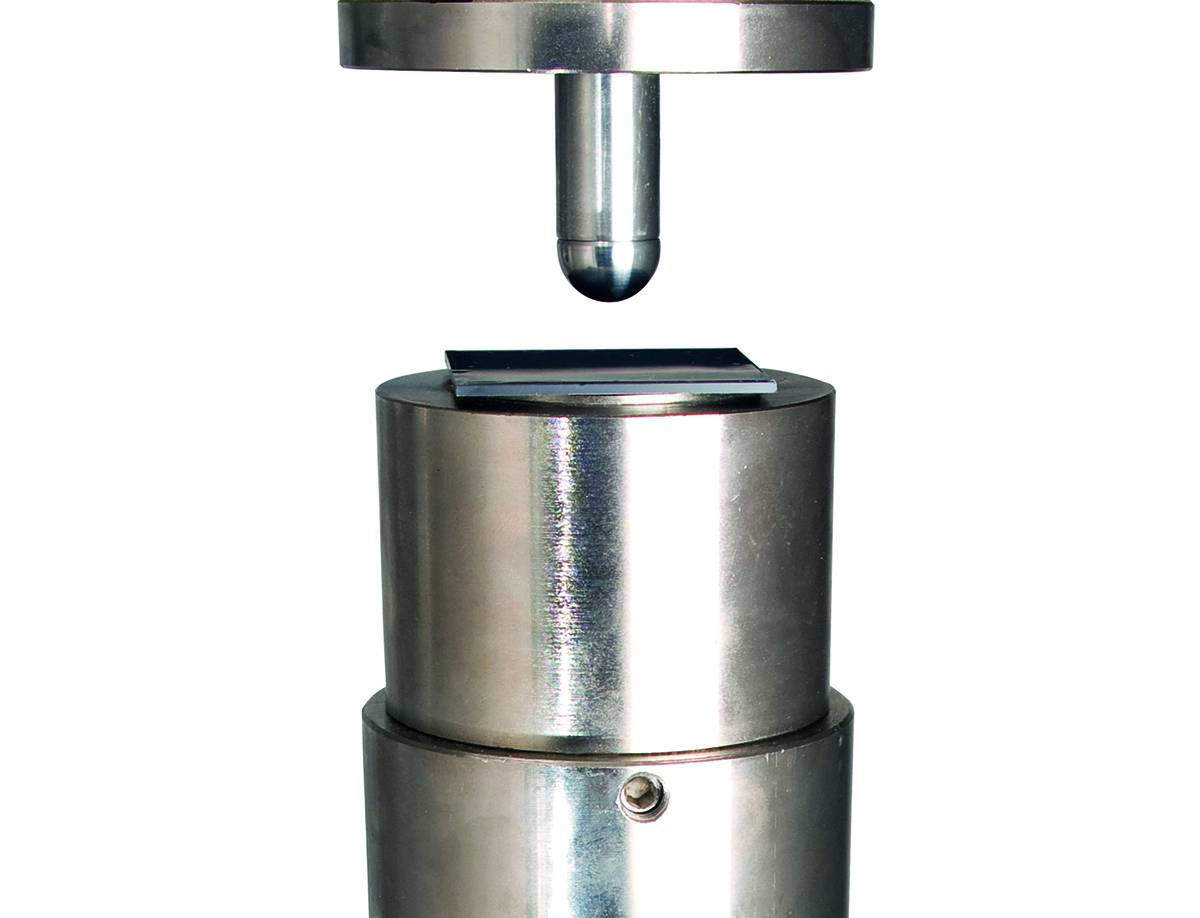
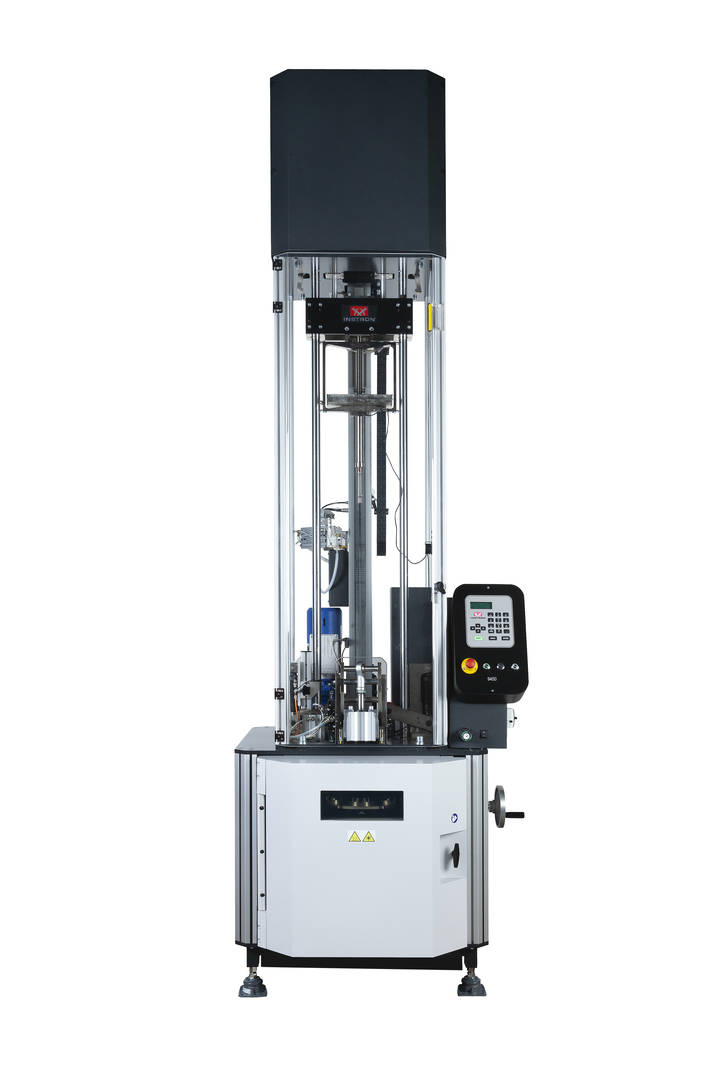
Instrons’ 9400 Drop Tower Series is equipped with tup inserts designed to host a piezo electric or strain gauge load cell to record the impact event, transferring the data to the data acquisition system and Bluehill Impact software.
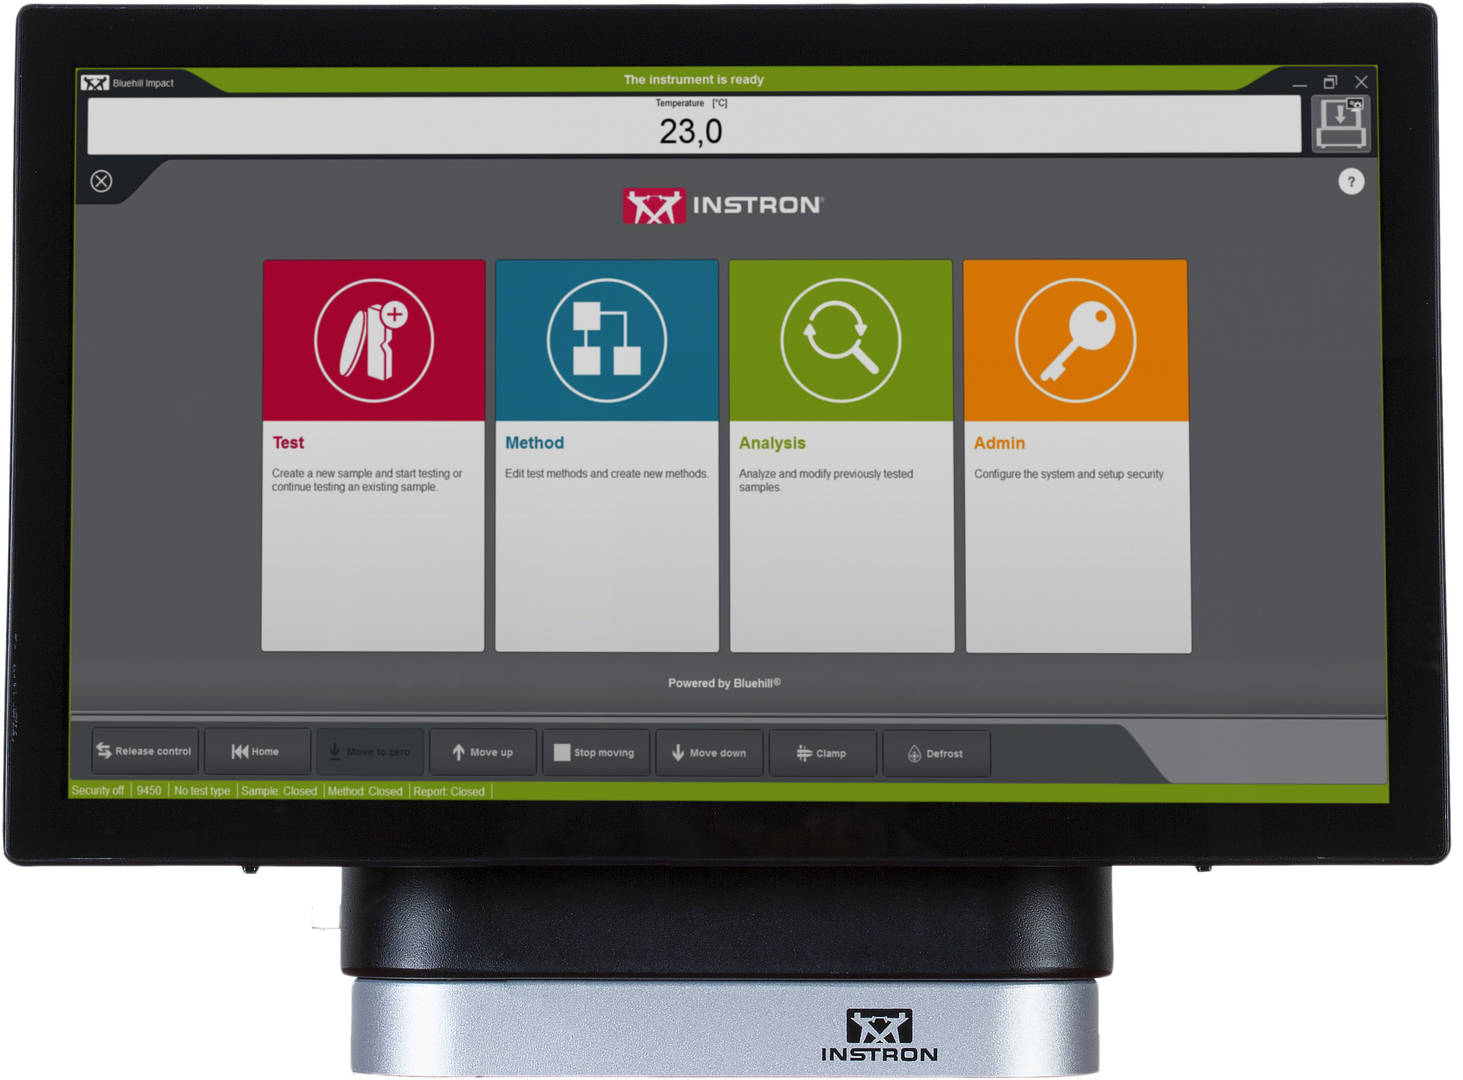
The impact drop towers, combined with Bluehill Impact software, guarantee compliance to the test standards. Pre-configured test methods allow any operator to configure the system, run tests according to the testing standards, and analyze results with minimal effort and increased efficiency.

When puncture impact tests are performed at a high volume, the automatic specimen feeding system increases productivity while decreasing repetitive operator actions associated with manual testing.

To minimize the adverse effects of friction that occurs between the tup insert and the specimen, some Testing Standards (ISO 6603-2) call for the application of a lubricant on the tip of the insert. The 9450 Drop Tower can be equipped with an automatic lubrication device that guarantees automated and repeatable oil application.
Tests can be conducted under the standard laboratory atmosphere or at low temperatures with a thermostatic chamber that hosts the support fixture and the specimens. By changing the conditioning and testing temperature and testing in a controlled manner at any given impact velocity, the temperature at which the material transitions from a ductile to brittle failure mode can be established for most plastics. Instron 9400 Series can equip models 9440 and 9450 with optional thermostatic chambers to allow puncture impact tests below and above 0°.
When Puncture Impact Tests support Finite Element analysis
The development of finite element analysis software has become an essential tool in designing parts and assemblies for various industrial fields. It has the potential to make the process faster and more flexible, enabling engineers to explore multiple scenarios.
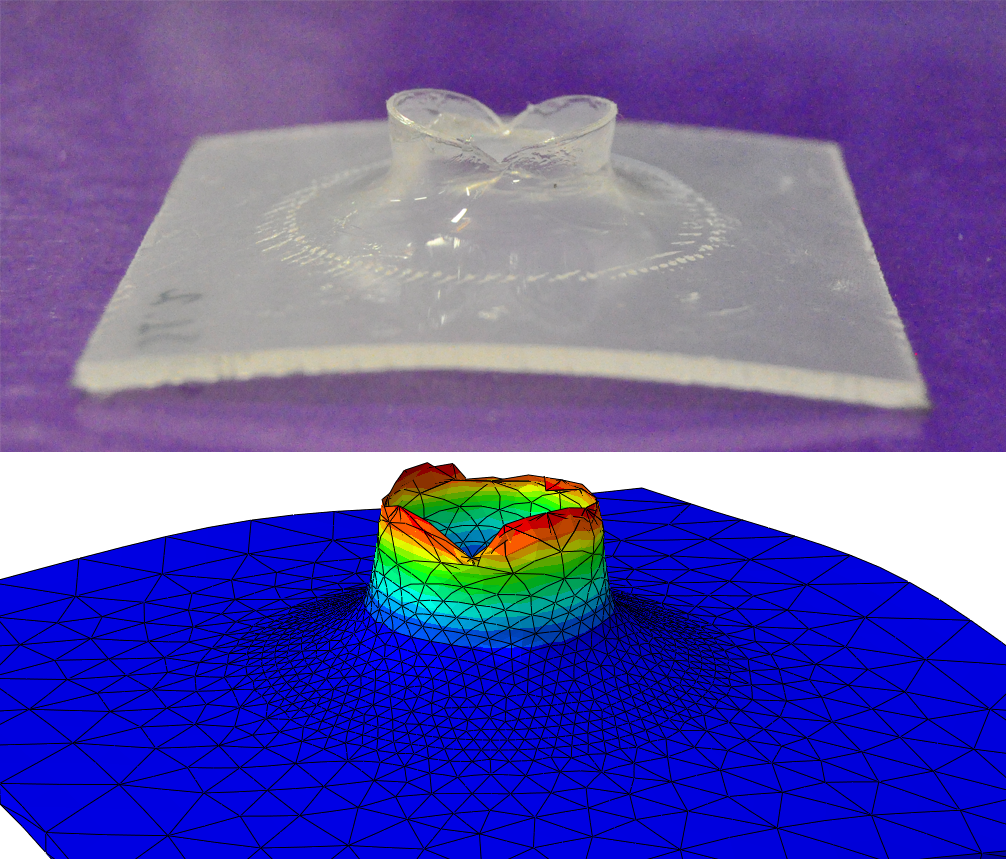
The study of the dynamic failure behavior of plastics under puncture impact, in combination with specialized finite-elements analysis software, allows for the determination not only of the mechanical responses of the material during puncture loads but also provides important insights to support designers in validating simulation experimental results.

Image supplied by Dan-Andrei Şerban - Department of Strength of Materials, “Politehnica” University of Timisoara, Romania
In this scenario, test accuracy and repeatability are essential. Ensuring a reliable and efficient testing process is therefore key. There are three key steps you can take to achieve this ambitious goal:
Simplify setup: a fast, easy, and flexible test setup process is key to switching between different samples quickly and smoothly. Instron drop tower solutions are designed to minimize loss of energy and improve data reproducibility and allow for simple setup of testing masses on a frictionless linear guidance system, tup inserts, and supports, so that you can easily switch from high to low impact energies and from coupon to component testing.
Make data acquisition accurate: Bluehill Impact Software with its pre-configured test methods, immediate access to results and graphs together with the high-resolution data acquisition chain that is in compliance with ISO 7500, ensures the accuracy of the force measuring system.
Reduce human error: if a test isn’t performed accurately enough, faults may not be picked up until later in the manufacturing process, causing costly downtime or even product recalls. Features such automatic break type recognition and integrated touch panels with step-by-step instructions to guide operators through the entire testing process ensure that tests remain repeatable and error-free. Automated calibration alerts can also help ensure tups are always up and running, minimizing the risk of inaccurate results.
