Why Precision Matters in Composites Testing: Insights from a Global Round-Robin Study
Written By: Nick Erickson
When it comes to testing advanced materials like carbon fiber composites, precision is not just a nice-to-have — it is a matter of safety. These materials are essential in today’s aerospace, automotive, and energy industries. We trust them with our lives, so understanding their true strength is critical. But here is the challenge: Even when labs follow international standards like ASTM and ISO, results can vary. Why?
A recent round-robin study for longitudinal tensile testing of unidirectional composites set out to answer that question. Seven labs from around the world — including Instron — participated in this ambitious study, testing six different coupon styles of unidirectional carbon fiber composites. The goal? Find the most reliable way to measure the absolute strength of these materials.
The Problem: Why Do Results Vary?
Unidirectional carbon fiber composites are incredibly strong, but measuring that strength accurately is not necessarily easy. Even when labs follow ASTM and ISO standards, results often differ. Is the variation caused by the material, the coupon shape, the equipment, or something else? These inconsistencies raise critical questions for engineers designing airplanes, cars, and wind turbines. The round-robin study set out to uncover why — and how to achieve more reliable results.
The Experiment: What Was Tested
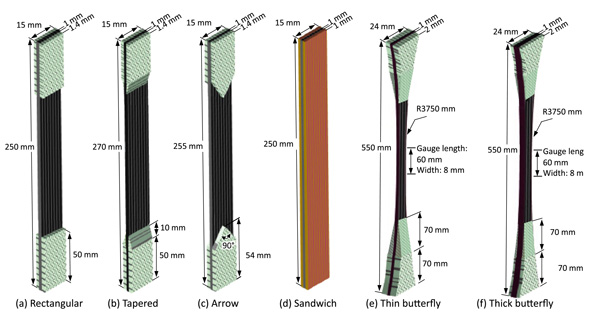
The study compared six coupon designs — three rectangular (with rectangular tapered and arrow shaped tabs), sandwich (UD laminate sandwiched between two outer glass fiber layers), and butterfly (thin and thick). All samples were manufactured and cut by the same lab before they were randomized and sent to the participants.
The goal was to determine whether coupon shape or different lab conditions influenced strength and result consistency. Surprisingly, neither was a big factor. The lab-to-lab variations were greater than the design-to-design variations, but overall, they were relatively small. The real key was not geometry or lab — it was meticulous sample preparation.
Researchers discovered that cutting method mattered. Water jet cutting introduced rough edges, reducing strength significantly. In contrast, a diamond disc saw produced smooth, clean edges, minimizing defects and delivering consistent results.
Additional Challenge: Validating the Break
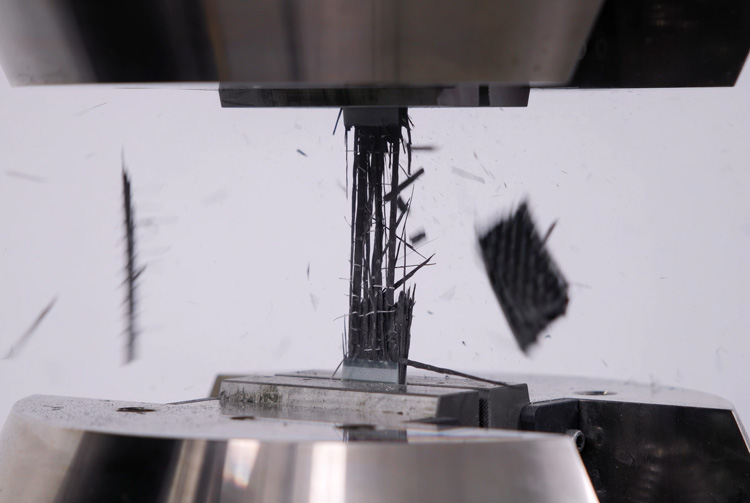
Composite specimens do not often fail cleanly — they shatter explosively. That makes it hard to tell if a failure occurred in the correct gauge section or near the grips, where stress concentrations can skew results. So how do you validate a test?
The Solution: High-Speed Cameras and Contactless Measurement
By filming tests at thousands of frames per second, researchers could pinpoint the exact moment and location of failure. It should be noted that a high-speed camera is an excellent research tool, but it is not a practical solution for routine testing.
Strain Measurement: Optical vs. Strain Gauges
Traditionally, many researchers have considered strain gauges or contacting extensometers the most reliable way to measure strain in composites testing. However, this study found that optical extensometers and full-field Digital Image Correlation (DIC) performed just as well as strain gauges, with similar standard deviations on modulus measurements.
Something that stood out was the limitations of strain gauges when it came to measuring strain at failure. Tests using strain gauges had a higher number of failures, often due to splitting at the specimen’s surface disrupting the gauge’s contact. The takeaway? Optical methods are not only as accurate as strain gauges — they are often more practical and less prone to failure as well. They avoid issues with surface splits and reduce the risk of incomplete strain data, making them a robust choice for composites testing.
Key Recommendations from the Study
- Perfect the cut. Use precision cutting tools like diamond disc saws to avoid edge defects.
- Go contactless. Optical extensometers provide accurate strain measurement without the risk of surface disruption.
- Validate your data. Discard tests showing early stress drops (> 3%) before the final break, as the sample is likely damaged.
Why This Matters
This research underscores a vital truth: Accurate composites testing is not so much about coupon shape or the lab — it is more about preparation and precision. By adopting these best practices, engineers can design safer airplanes, cars, and wind turbines, ensuring these materials perform as expected under real-world conditions.
Ready to Improve Your Composites Testing?
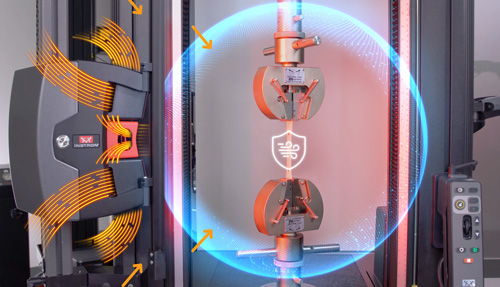
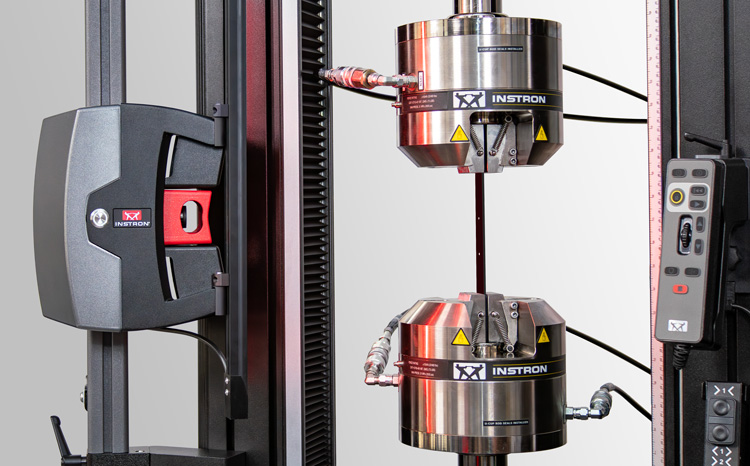
The study highlights the value of contactless optical extensometers for composites testing. Instron's AVE3 Advanced Video Extensometer delivers these recommended capabilities with high-precision, non-contact strain measurement. Explore our solutions and learn more in our composites knowledge center.
Read the full report:
Round-robin programme for longitudinal tensile testing of unidirectional composites: results, conclusions, and recommendations
Image Reference
Fazlali, Babak, et al. “Round-Robin Programme for Longitudinal Tensile Testing of Unidirectional Composites: Results, Conclusions, and Recommendations.” Polymer Testing, vol. 152, Nov. 2025, p. 108974, www.sciencedirect.com/science/article/pii/S0142941825002880?via%3Dihub, https://doi.org/10.1016/j.polymertesting.2025.108974. Accessed 15 Jan. 2026.
