AVE3
Advanced Video Extensometer
Contact Our Sales Department.
Please complete the form below and we will be happy to contact you with a response. Our typical response time for an online request is within 1-2 business days. For a faster response, please call +1-800-473-7838.
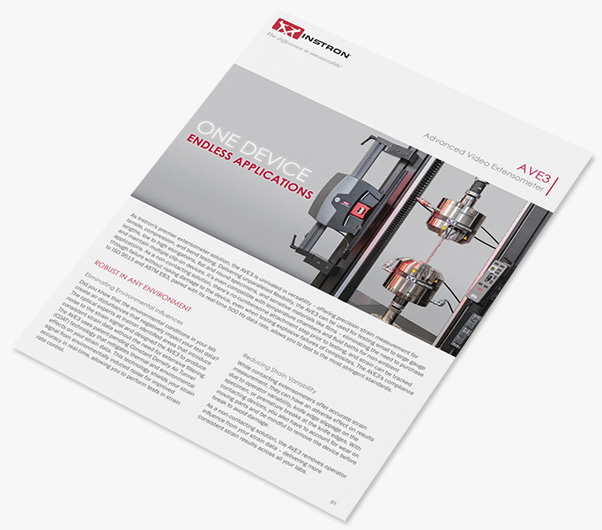
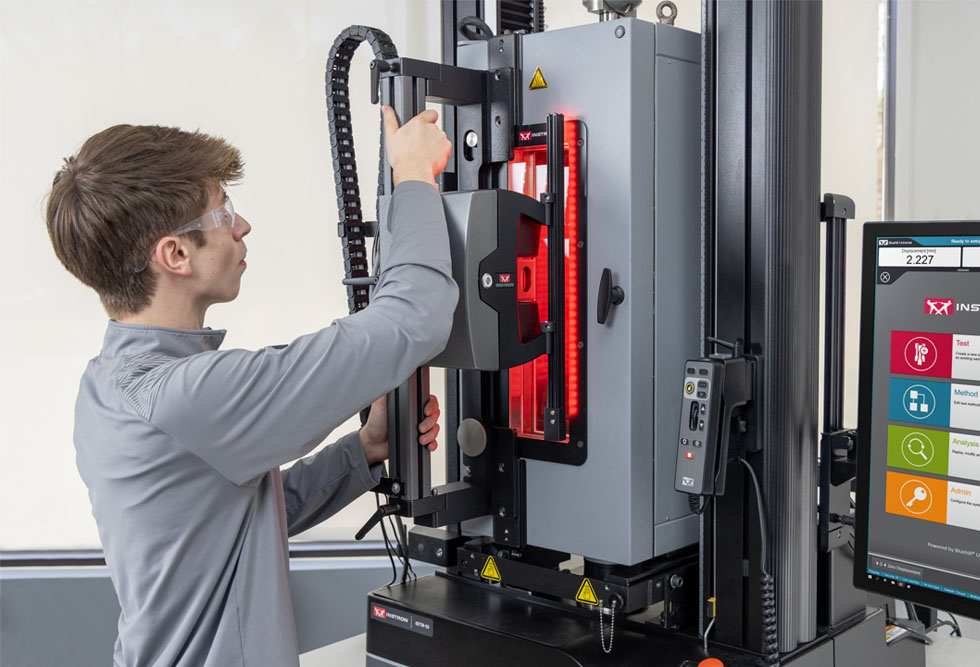
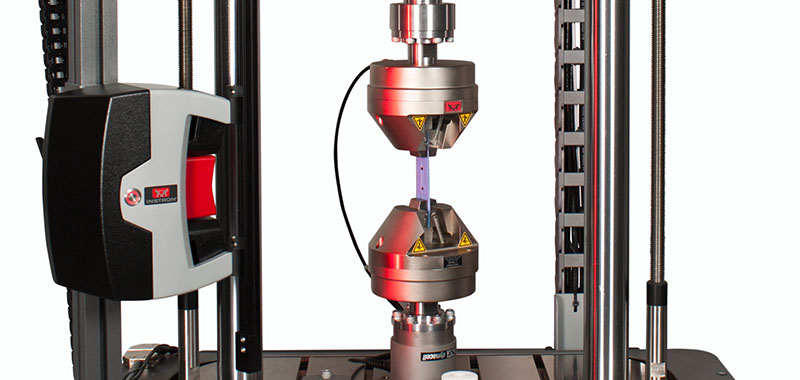
As the premier extensometer solution, the AVE3 is unrivaled in versatility — offering precision strain measurement down to 1 micron accuracy for tensile, compression, and bend testing. Delivering unparalleled flexibility, the AVE3 can be used for everything — small to large gauge lengths, low to high elongations, sensitive materials like films, explosive failures of composites, and even non-ambient testing in a chamber or a fluid bath. The AVE3's compliance with ISO 9513 and ASTM E83 means you can reliably test to any standard with one device, eliminating the need to purchase and maintain multiple clip-on devices.
View SpecificationsDesigned for Accuracy
CDAT Airflow Technology Patent Pending

Non-Contacting Solution
Dynamic Cross-Polarized Lighting Patented

The AVE3 can measure both modulus and strain to failure for almost any application, including static tensile, flexure, and compressive testing for flat and round specimens. Measurements can be collected at ambient conditions or at high and low temperatures when using environmental chambers or fluid baths. Whether you're testing plastics, metals, composites, textiles, films, foils, elastomers, paper, components, or biomaterials, the AVE3 offers the versatility to meet evolving testing demands and the following standards.
Metal Standards
- ISO 6892, ASTM E8, JIS Z 2241, GB 228.1
- r-Value (AverEdge32 Recommended): ISO 10113, ASTM E517, JIS Z 2254, GB/T 5027
Plastic Standards
- ISO 527-2, ASTM D638, JIS K 7161-2, GB/T 1040.2
- Flexural Tests: ISO 178, JIS K 7171, GB/T 9341
Composite Standards
- ISO 527-4/5, ASTM D3039, GB/T 3354
Elastomer Standards
- ISO 37, ASTM D412, JIS K 6251, GB/T 528
Film and Foil Standards
- ASTM E345, ASTM D882, GB/T 1040.3
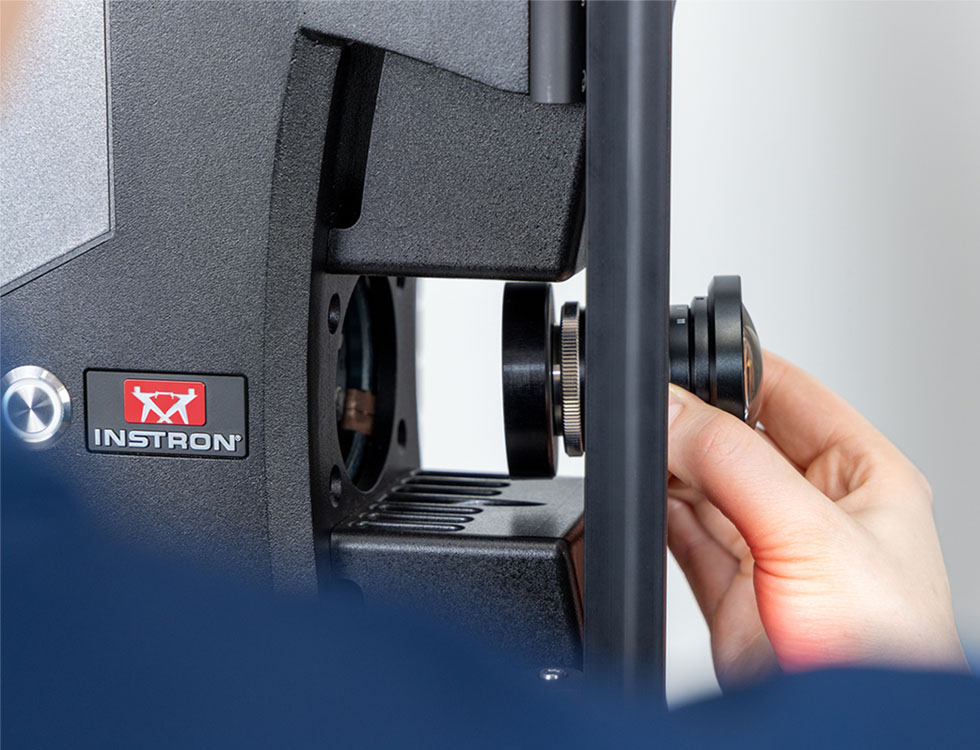
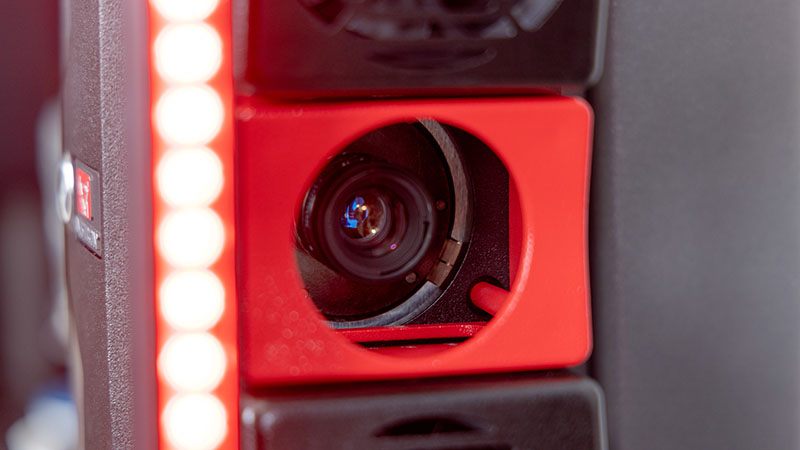
Lenses are configured and factory calibrated for your unique test setup. Aperture and focus settings are locked to remove any variability of operator influence. Each lens is programmed with an identification number, which allows the test system to automatically recognize the device through a kinematic connection. This new connection method guarantees a repeatable placement of the lens. The AVE3 also uses a simplified calibration plate that can clip directly onto your specimen with your load string intact, making it easier to perform periodic calibration checks to ensure it's dialed in and ready for testing.
Available Lenses
- 35mm (Short Field of View) — suitable for low-strain materials such as composites, metals, and rigid or filled plastics.
- 16mm (Standard Field of View) — suitable for materials such as plastics, metals, sheet metals, and foils. Preferred lens for metals customers requiring strain rate control and average transverse strain measurement (AverEdge32).
- 6mm (Extra-Long Field of View) and 9mm (Long Field of View) — suitable for materials with high elongations such as rubbers, elastomers, films, and some plastics.
Note: When selecting your lens, ensure you know your minimum and maximum gauge length requirements as well as total elongation of the range of specimens you plan to test.
Strain Control
With the new AVE3, you're now able to perform testing that requires strain control, including ASTM E8 and ISO 6892. Between the advancements in accuracy and a data capture rate of 500 Hz, the AVE3 delivers rapid insights that allow the testing system to respond in real-time to changes in strain rate — ensuring you have repeatable and comparable results that comply with testing standards.
AverEdge32TM
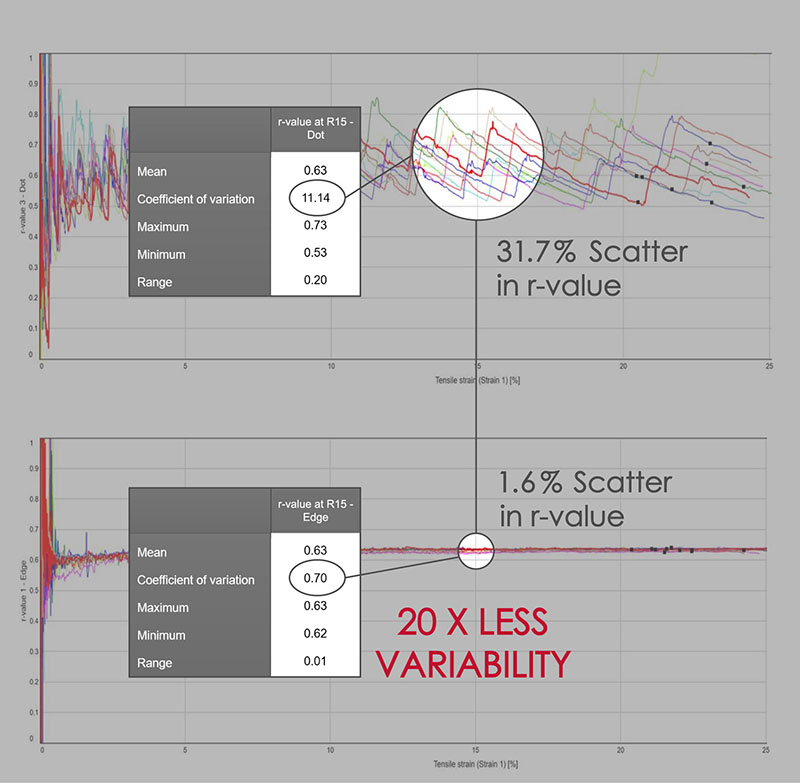
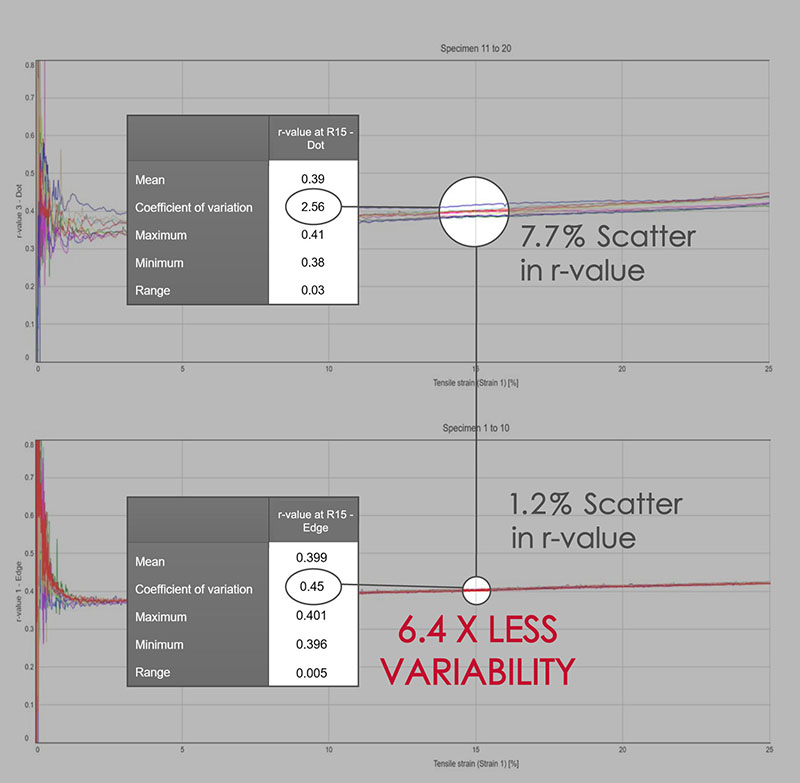
AverEdge32 is an optional advanced feature of the AVE3 that utilizes edge-detection technology to simultaneously measure transverse strain at 32 locations along the specimen gauge length. It then averages them in real time, resulting in a smooth and repeatable transverse strain value, which is essential to calculating the r-value of sheet metal.
Features
- Real-time transverse strain, averaged from 32 gauge widths, provides repeatable transverse strain with even the most demanding materials
- Improved results repeatability, reducing or eliminating the need to perform retesting
- Edge detection eliminates the need for transverse marks
- Exceeds the requirements of ISO 10113, ASTM E517, JIS 2254 & GB/T 5027 for plastic strain ratio (r-value)
r-Value Comparison
Digital Image Correlation
Digital image correlation (DIC) is an optical technique that compares images of a tested specimen's surface to generate full-field strain and displacement maps. It creates pictures that can be used to visualize strain and displacement over the full two-dimensional surface of the test specimen.
- View materials testing phenomena, such as discontinuous yielding, localized necking, and more
- Analyze strain and displacement on the flat surface of a part or component where traditional extensometers are impractical
- Visualize and detect cracks that are not visible to the eye
- Check specimen preparation techniques by comparing one specimen to the next
- Check for standards compliance by identifying localized strain that falls outside of the standard gauge length
- Visualize the side profile of a flat flexure or compression specimen to observe strain behavior
- DIC software communicates directly with Bluehill Universal for easy transition from test to data review
Other Models
AVE2
